The Secret to Getting Fuller, Greener Indoor Plants
To get fuller, greener indoor plants, you’ve got to start with optimal lighting—place sun-loving ones near east or west windows and use LED grow lights for 12-16 hours. Water only when the top inch of soil’s dry, using a well-draining mix of peat moss and perlite. Fertilize every two to four weeks with balanced nutrients, and repot into a slightly larger pot when roots crowd. Mastering these keeps your plants thriving, with additional tips just ahead to boost your results.
Key Takeaways
- Ensure optimal lighting by placing plants near east or west-facing windows and using grow lights for 12-16 hours daily.
- Water thoroughly when the top inch of soil is dry, using room-temperature water to maintain even moisture and prevent stress.
- Use a well-draining soil mix with 50% organic matter for better aeration and root health, promoting fuller growth.
- Apply a balanced NPK fertilizer every two to four weeks during growing season to supply essential nutrients.
- Repot plants into a slightly larger pot with drainage holes when roots are crowded to encourage vigorous, greener foliage.
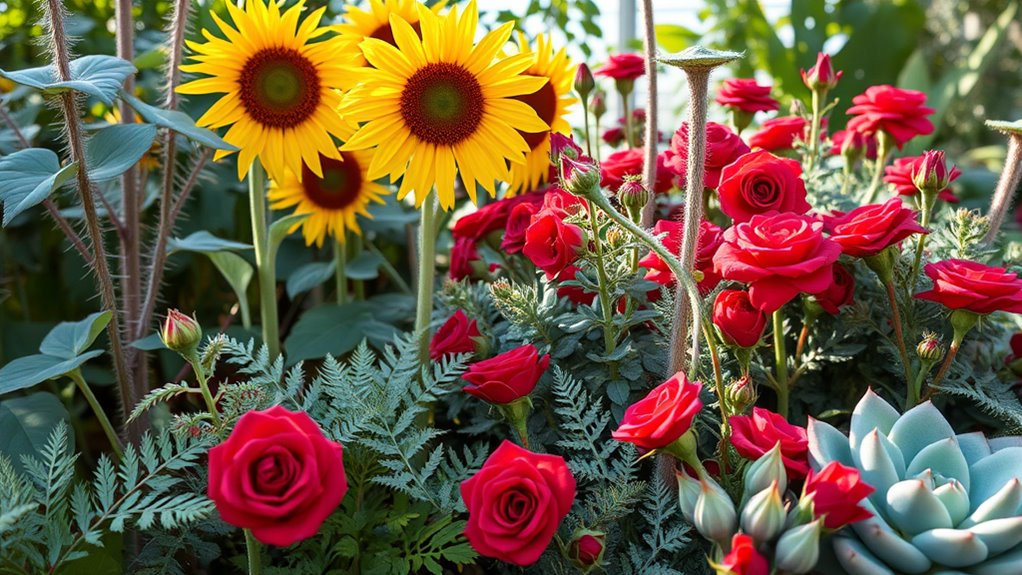
Optimal Lighting for Vibrant Growth
Optimal lighting is essential for your indoor plants’ vibrant growth. To apply effective indoor plant growth tips, assess your space’s natural light first and consider choosing easy-care indoor plants for beginner success.
Position sun-loving plants near east or west-facing windows for balanced exposure, avoiding direct midday rays that cause scorching.
In low-light rooms, use LED grow lights with full-spectrum bulbs to replicate sunlight, providing 12-16 hours daily.
Rotate plants every few days for even illumination, preventing leggy stems and encouraging dense foliage.
Monitor growth responses; adjust setups to maintain healthy, fuller leaves without overexposure.
Additionally, combining optimal lighting with proper watering practices helps achieve the lush growth mentioned in comprehensive plant care guides.
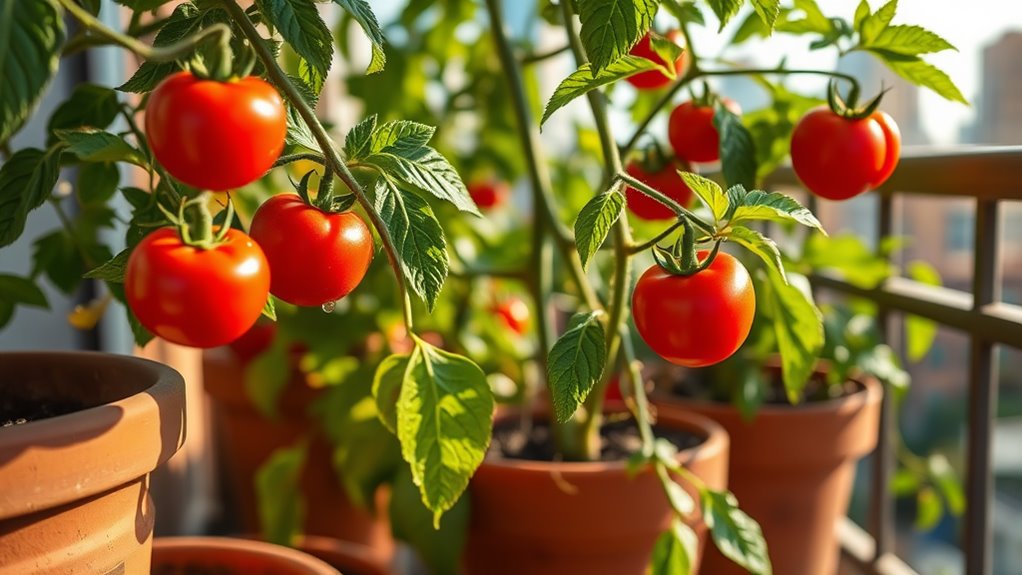
Effective Watering Strategies
While proper lighting sets the stage for growth, effective watering strategies are key to keeping your indoor plants healthy and hydrated.
Before watering, check the top inch of soil with your finger; if it’s dry, proceed. Water thoroughly until excess drains out, ensuring roots get even moisture without saturation. Use room-temperature, filtered water to prevent mineral buildup and shock.
Watch for overwatering signs like yellow leaves or wilting stems, and underwatering indicators such as droopy foliage. Adjust frequency based on plant type—succulents need infrequent watering, while tropical varieties prefer consistent moisture. This prevents stress and promotes lush growth. For optimal results, incorporate plant selection tips to match plants with compatible watering requirements.
Additionally, incorporating expert watering techniques from gardening knowledge can help you avoid common pitfalls and optimize hydration for fuller, greener plants.
Selecting the Ideal Soil Mixture
Once you’ve mastered watering, turning to the ideal soil mixture becomes essential for your indoor plants’ success.
You’ll want a blend that ensures excellent drainage and aeration to prevent root rot, typically combining peat moss, perlite, and vermiculite. For most houseplants, aim for a mix that’s 50% organic matter and 50% inorganic additives to retain moisture without compacting.
Test pH levels around 6.0-7.0 using a simple kit, and choose soil free from pests or diseases.
Customize based on plant type—cacti need sandier mixes, while ferns prefer moisture-retaining ones—to promote robust growth and vibrant foliage. Additionally, enhance your soil naturally with backyard solutions like compost from garden waste for a cost-effective boost.
However, consider the potential drawbacks of store-bought soil mixes when selecting your blend for better gardening outcomes.
Essential Fertilization Techniques
After selecting the right soil, you’ll need to master essential fertilization techniques to keep your indoor plants thriving and nutrient-rich.
Begin with a balanced NPK fertilizer, like a 10-10-10 formula, to support overall growth. Dilute liquid types to half strength and apply every two to four weeks during the growing season, ensuring even distribution around the root zone.
For potted plants, use slow-release granules for steady nutrient delivery, avoiding buildup. Test soil regularly with a kit to check pH and nutrient levels, adjusting applications to prevent deficiencies such as yellowing leaves from lack of iron. To further enrich the soil naturally, incorporate organic compost derived from kitchen scraps and garden waste.
Always water before fertilizing to minimize root shock, promoting lush, green foliage effectively.
For a natural boost, you can also experiment with an organic fertilizer recipe using simple ingredients to promote healthier indoor plants.
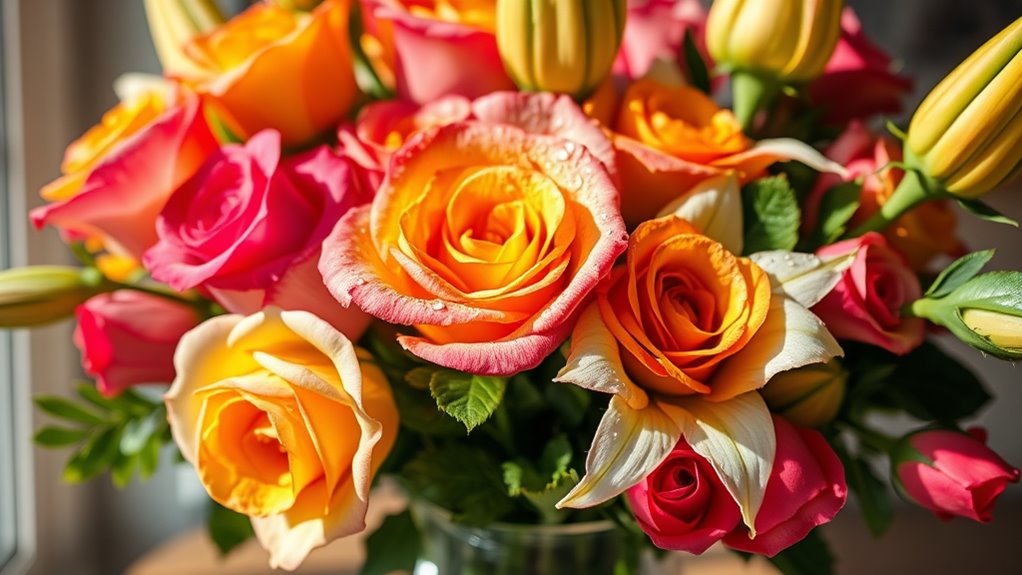
Pruning for Fuller Foliage
Pruning enhances your indoor plants’ fullness by removing dead or overgrown stems, which redirects energy to new growth. Incorporating a straightforward methodology can further improve your pruning techniques for optimal results.
You’ll need sharp, clean shears to make precise cuts just above leaf nodes, promoting branching and denser foliage. Prune during active growth periods, like spring or summer, to avoid stressing plants.
Focus on shaping by trimming leggy stems; this encourages lateral buds to sprout, creating a bushier appearance.
Monitor for over-pruning—remove no more than 20-30% at once—to maintain health and vigor, ensuring your plants thrive with minimal effort.
By adopting a consistent pruning habit, you can experience a transformation in your indoor garden, resulting in healthier and more abundant plants.
Managing Humidity and Temperature
Maintaining optimal humidity and temperature levels helps your indoor plants flourish, as these factors directly influence growth and vibrancy.
For most houseplants, aim for 40-60% relative humidity; you’ll use a hygrometer to monitor it accurately. If levels drop, add a humidifier or place trays of water near plants to boost moisture without overwatering.
Keep temperatures steady between 65-75°F, as extremes cause wilting or slowed growth. Avoid placing plants in drafty spots or near radiators, which disrupt these conditions.
Regularly check and adjust to promote lush, healthy foliage, ensuring your space stays vibrant. By maintaining proper humidity and temperature, you can also enhance the air-purifying benefits of your indoor plants.
Additionally, maintaining these conditions can support indoor pest control by reducing the likelihood of pest infestations that thrive in imbalanced environments.
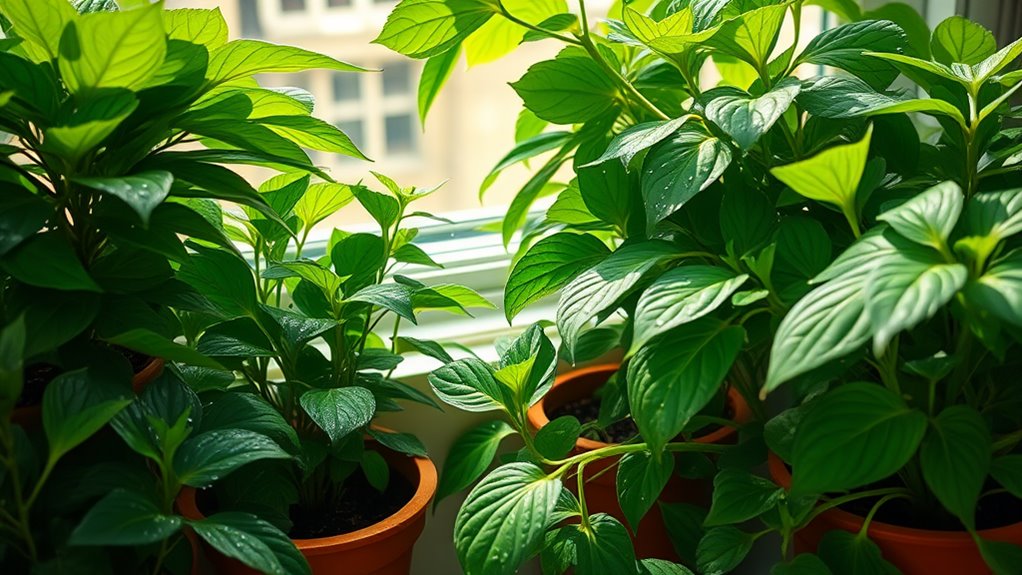
Repotting for Stronger Roots
You know it’s time to repot your indoor plants when roots circle the pot or growth slows, signaling they need more space.
Next, choose the right pot size—typically one to two inches larger in diameter—to prevent waterlogging and encourage robust root development.
Applying these techniques helps you build a stronger foundation for fuller, greener foliage.
[LIST OF 3 SUBHEADING DISCUSSION POINTS IN ENGLISH
Repotting your indoor plants promotes stronger roots by addressing key factors; here’s a focused list of three subheading discussion points to guide the process:
1) Identifying the right time for repotting,
2) Selecting an appropriate pot and soil mix,
3) Executing the repotting steps carefully.
For point 1, recognize it’s about spotting key indicators without details here.
For point 2, pick a pot one size larger with good drainage and a soil mix that ensures aeration and moisture balance for your plant’s type.
For point 3, carefully remove the plant, trim damaged roots, position it in the new pot, and water moderately to settle the soil, minimizing stress.
When to Repot
Determining when to repot your indoor plants ensures they develop stronger roots; look for key indicators like roots emerging from drainage holes, soil that dries out too quickly, or stunted growth, as these signal the plant has outgrown its pot and needs more space to thrive. Once you spot these signs, assess carefully to avoid root damage. For a quick guide, here’s a breakdown:
| Indicator | Action to Take |
|---|---|
| Roots from drainage holes | Gently inspect and prepare to repot |
| Soil dries out quickly | Check root density before repotting |
| Stunted growth | Monitor for two weeks then repot |
| Yellowing leaves | Test soil moisture and repot if needed |
Repotting promptly keeps your plants vigorous and healthy.
Choose Pot Size
Once you’ve identified repotting signs, picking the right pot size helps foster stronger roots.
To choose effectively, select a pot 1-2 inches larger in diameter than your current one, allowing roots to expand without excess soil that retains moisture and risks rot.
For example, upgrade a 6-inch pot to an 8-inch one for most houseplants. Avoid oversized pots, as they promote overwatering; instead, prioritize those with drainage holes to prevent waterlogging.
Consider material too—terracotta breathes better for moisture-prone plants, while plastic suits drier ones.
This precise choice supports robust growth and prevents common pitfalls.