My Go-To Guide for Easy, Productive Flower Beds
You’ll build thriving flower beds by starting with native perennials like black-eyed Susans, which thrive with minimal effort. First, test your soil’s pH and mix in compost for better fertility and drainage. Plant them in holes twice as wide as the root ball, then water deeply in the morning and use mulch to lock in moisture. Manage pests by inspecting weekly and using organic treatments. Harvest blooms early for fresh arrangements, and uncover additional tips to elevate your garden’s beauty.
Key Takeaways
- Choose native, disease-resistant plants and prepare soil by testing pH and adding compost for easy growth.
- Plant in holes twice the root ball size, then water deeply but infrequently to promote healthy roots.
- Inspect plants weekly for pests and use organic controls like neem oil to maintain productivity.
- Harvest flowers in the early morning, cutting stems at a 45-degree angle for optimal freshness.
- Deadhead blooms regularly and arrange in suitable containers to encourage continuous flowering.
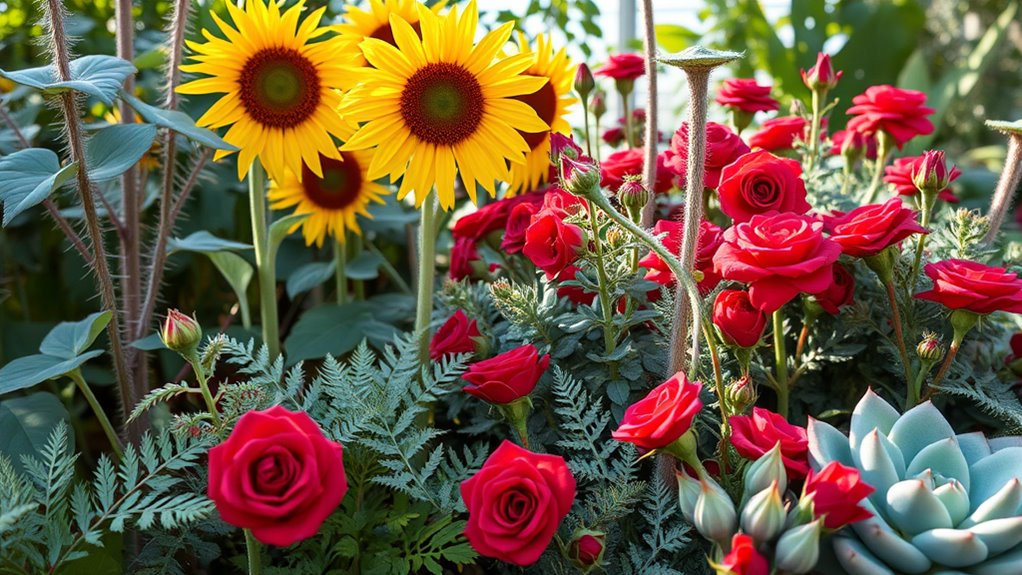
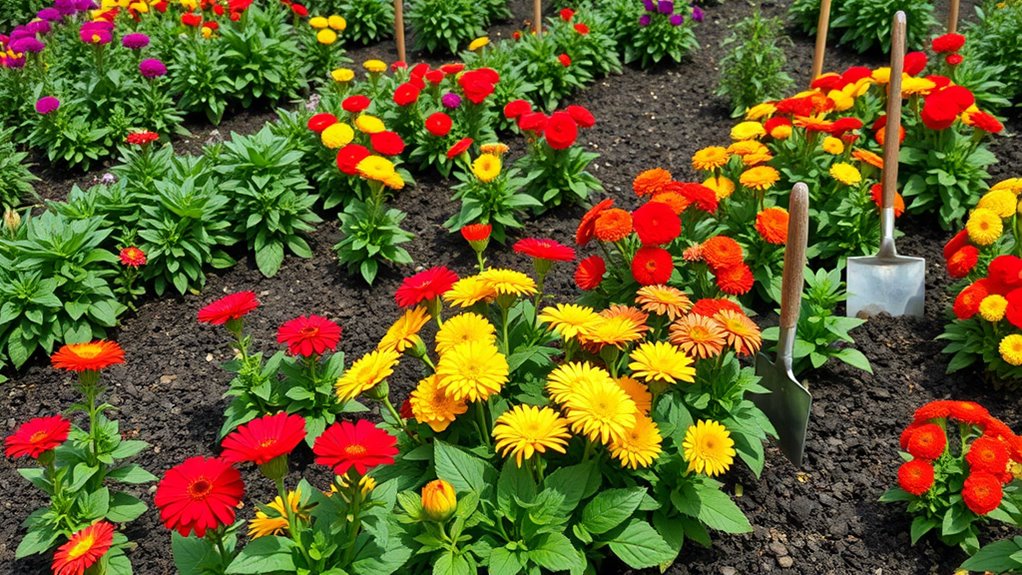
Selecting the Right Plants
When you’re planning a flower bed, selecting the right plants is crucial for a vibrant, low-maintenance garden. Additionally, to achieve year-round blooms, incorporate a mix of plants that offer seasonal interest throughout the year.
To streamline flower bed maintenance, evaluate your site’s sunlight and climate first, choosing plants that match these conditions to reduce watering and care needs.
Opt for native species, as they’re naturally adapted and require minimal intervention, like less frequent pruning or pest control.
Incorporate perennials such as black-eyed Susans for longevity, avoiding the hassle of annual replanting.
Also, pick disease-resistant varieties to prevent common issues, ensuring your garden thrives with ease and stays visually appealing year-round.
For challenging soil conditions, consider adding resilient flowers that can thrive without needing extensive soil improvements.
Preparing the Soil
After selecting the right plants, you’ll focus on preparing the soil to create an optimal environment for them to flourish.
First, test your soil’s pH and nutrient levels using a simple kit; aim for a neutral range around 6.0-7.0 for most flowers. If it’s too acidic or alkaline, add lime or sulfur accordingly.
Next, incorporate organic matter like compost or well-rotted manure to improve texture and fertility—mix in about 2-4 inches and till to a depth of 8-12 inches. To further enhance soil quality without additional costs, utilize backyard solutions such as fallen leaves or grass clippings as free organic amendments.
Remove weeds, rocks, and debris to prevent competition. Ensure good drainage by avoiding compacted areas; raised beds help if your soil retains water.
This step boosts root health and plant vigor, setting the stage for vibrant blooms.
Additionally, these soil preparation techniques can be adapted to universal soil prep methods for various environmental conditions.
Planting Techniques
With your soil prepped and ready, you’ll select the right planting time based on your flowers’ needs—spring for most annuals or fall for perennials—to maximize growth.
Now, master these practical techniques for successful planting.
-
Prepare the hole: Dig it twice as wide as the root ball and to the same depth, ensuring ample space for roots to expand without crowding.
-
Position the plant: Gently place it in the hole so the root ball’s top sits level with the soil surface, promoting stable growth and avoiding burial issues.
-
Backfill and firm: Fill the hole with soil, then lightly press around the roots to eliminate air pockets and secure the plant firmly in place.
These steps set your flower beds up for vibrant success. To further enhance your efforts, always include a pre-plant checklist as part of your routine to cover any overlooked essentials. Additionally, for optimal results, incorporate planning garden layout into your preparation to ensure plants are positioned effectively in your space.
Watering and Feeding
Now that you’ve mastered planting techniques, let’s focus on keeping your flower bed thriving through proper watering schedules and feeding techniques. To enhance your watering strategy, be mindful of common mistakes such as overwatering, which can lead to root rot and hinder plant health.
You’ll need to water your plants deeply but infrequently, aiming for early morning or evening sessions to match their specific needs based on soil type and weather.
When it comes to feeding, you apply balanced fertilizers every few weeks during the growing season, ensuring you follow the product’s instructions to avoid overfeeding and promote healthy blooms.
Additionally, incorporating practical techniques from essential care advice will help you unlock thriving blooms for a more vibrant garden.
Watering Schedules
Proper watering schedules keep your flower bed healthy by matching your plants’ needs to local conditions.
You’ll assess soil type, plant requirements, and weather to prevent issues like root rot or wilting.
Here’s how to set it up effectively:
-
Evaluate plant needs: Identify water-loving versus drought-tolerant species in your bed to tailor your routine.
-
Monitor local weather: Track rainfall and temperature; water deeply but infrequently during dry spells to encourage strong roots.
-
Establish a routine: Set specific times, like early morning, using hoses or drip systems for efficient, even coverage.
Stick to this for thriving, low-maintenance blooms.
Feeding Techniques
Feeding your plants effectively combines nutrient-rich fertilizers with smart watering to promote robust growth.
You’ll choose a balanced fertilizer, like a 10-10-10 NPK blend, and apply it every 4-6 weeks during peak seasons, following label doses to avoid overfeeding.
Test soil pH first—aim for 6.0-7.0—to ensure nutrients absorb well.
Pair this with deep watering: soak beds to penetrate 6-8 inches, then let soil dry slightly between sessions to prevent root rot.
Use drip irrigation for efficiency, and mulch to retain moisture, reducing evaporation and weed interference for healthier, vibrant blooms.
Managing Pests and Diseases
When pests or diseases invade your flower bed, you’ll want to act quickly by identifying symptoms like discolored leaves or unusual spots, as early intervention prevents widespread damage.
Once identified, focus on targeted strategies to protect your plants.
-
Inspect Regularly: Examine plants weekly, looking for pests like aphids or fungal signs, and remove affected parts immediately to limit spread.
-
Apply Natural Controls: Use organic options such as insecticidal soap for bugs or copper fungicides for diseases, ensuring you follow application guidelines.
-
Promote Plant Health: Boost resistance by ensuring proper watering and spacing, which helps your flowers naturally fend off invaders.
To enhance these efforts, consider incorporating easily accessible staples like garlic or neem oil as natural repellents.
For long-term protection, incorporate natural pest control strategies that promote a healthy garden without harsh chemicals.
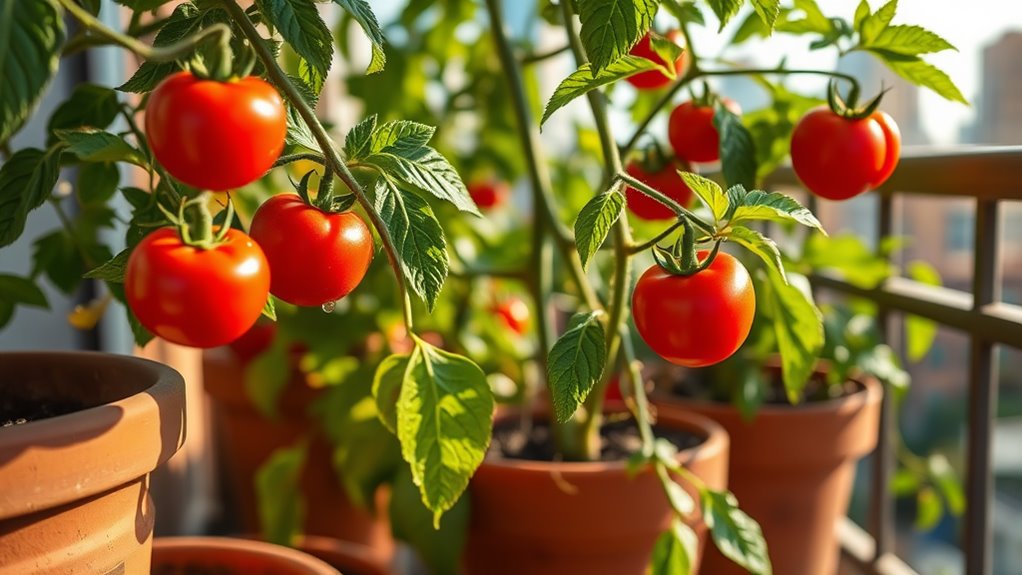
Harvesting and Enjoying Blooms
Once you’ve kept your flowers thriving through pest management, it’s time to focus on harvesting and enjoying blooms by mastering harvest timing tips, cutting techniques, and bloom arrangement ideas.
You’ll learn to pick flowers at their prime to ensure they last longer and look their best.
Now, apply these practical strategies to create stunning displays from your garden.
Moreover, regular deadheading can lead to more abundant blooms for enhanced garden vitality.
To further enhance your flower’s longevity and beauty, incorporate a simple deadheading routine into your weekly maintenance.
Harvest Timing Tips
As you tend your flower bed, timing the harvest of blooms is key to capturing their vibrant colors and extending their vase life. By harvesting at the right moment, you’ll preserve freshness and maximize enjoyment in your arrangements.
Consider these essential timing tips to get the best results:
-
Harvest in the early morning****: Flowers are fully hydrated from overnight dew, reducing wilting and maintaining firmness for longer vase life.
-
Wait for peak bloom stage****: Pick when buds are nearly open but not fully mature, ensuring they last several days indoors without fading quickly.
-
Monitor seasonal conditions****: Avoid hot afternoons or rainy days, as these can stress plants and shorten bloom longevity.
This approach keeps your cut flowers thriving.
Cutting Techniques Guide
Mastering proper cutting techniques lets you harvest blooms efficiently while preserving their vitality for stunning arrangements.
You’ll need sharp, clean shears to make precise cuts that minimize damage. Always select stems with buds that are nearly open, then snip at a 45-degree angle just above a leaf node—this promotes healing and new growth.
For best results, cut in the early morning when plants are hydrated, and immediately plunge stems into water. Remember to remove any foliage below the waterline to prevent rot, ensuring your blooms stay fresh longer without unnecessary plant stress.
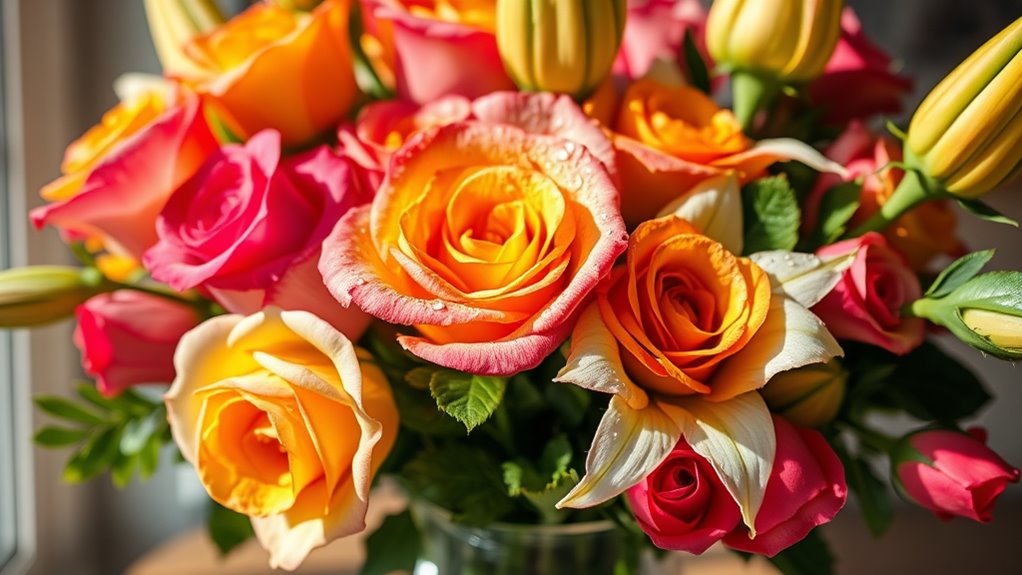
Bloom Arrangement Ideas
How do you turn your freshly harvested blooms into eye-catching arrangements that enhance any space? Start by selecting a mix of flowers for texture and color, then trim stems at an angle for better water absorption.
You’ll create balanced displays that brighten your home effortlessly.
-
Choose your container: Pick a vase that complements the flowers’ size and style, ensuring it’s clean and filled with fresh water.
-
Build layers: Place taller stems in the center, add medium ones around them, and tuck in smaller blooms for depth and fullness.
-
Maintain freshness: Change water daily, remove wilted petals, and keep arrangements in cool, indirect light to extend their life.