Start a Garden Without a Yard – Here’s How!
You can easily start a garden indoors without a yard by choosing compact, low-maintenance plants that match your space and routine. Assess natural light first, then add LED grow lights on timers for optimal growth. Pick breathable containers with drainage holes and mix soil using compost, perlite, and coir for better aeration. Water thoroughly while monitoring humidity with trays or misters, and use neem oil for natural pest control. Further insights on space tweaks and care routines await your exploration.
Key Takeaways
- Select compact, low-maintenance indoor plants that match your available space and care routine.
- Use containers with drainage holes and breathable materials to support healthy root growth.
- Assess natural light and supplement with LED grow lights to meet plant needs.
- Maintain proper watering and humidity using moisture checks and tools like humidifiers.
- Optimize space with vertical planters or hanging baskets for an efficient indoor garden.
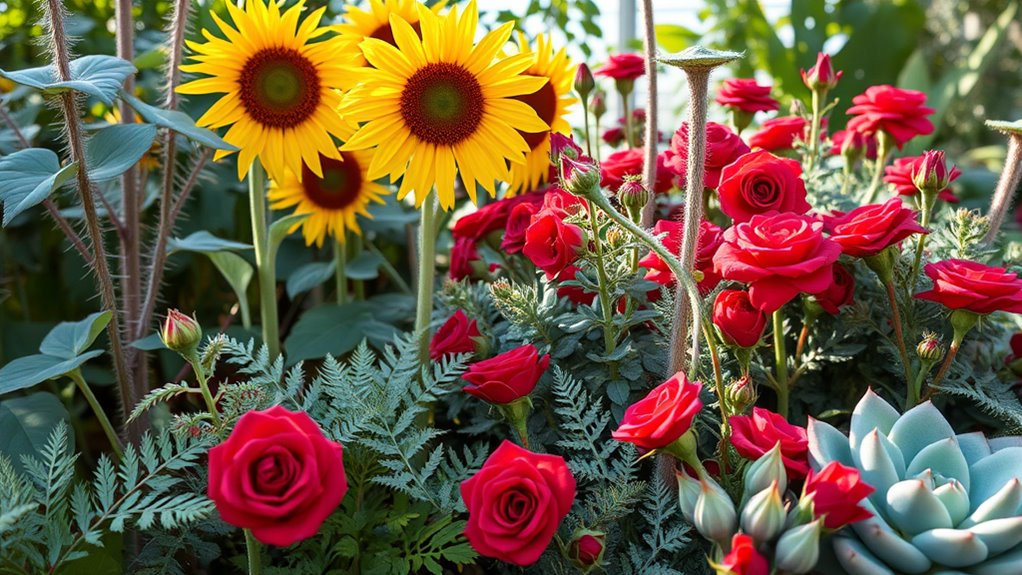
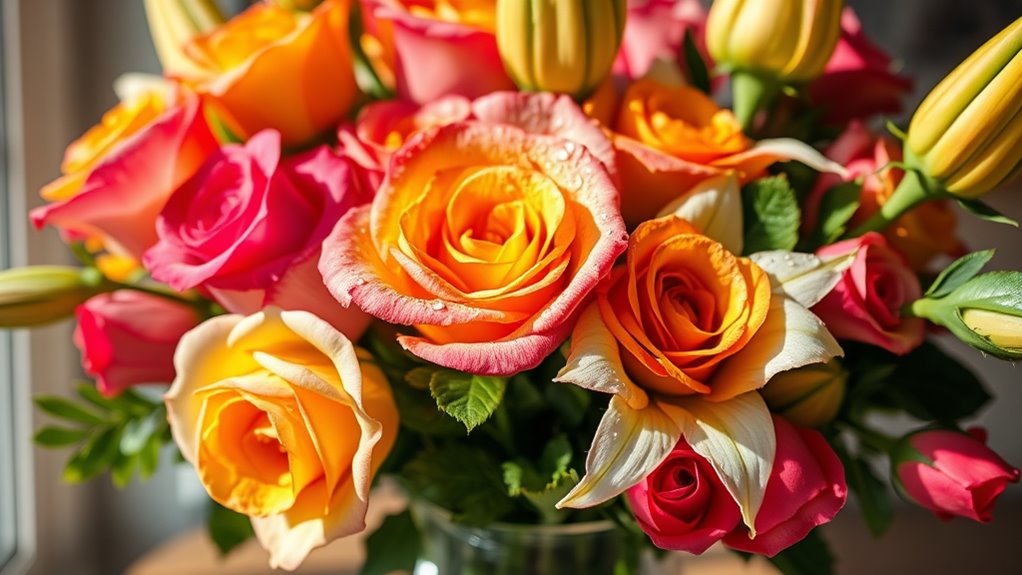
Choosing the Right Indoor Plants
When you’re starting an indoor garden, choosing the right plants means considering factors like light, space, and care needs to ensure they thrive.
For effective indoor gardening tips, first assess your space: select compact plants for small areas or shelves to prevent overcrowding.
Focus on care requirements, such as watering frequency and soil drainage, to match your routine—opt for low-maintenance options like succulents or ferns.
Research plant origins for adaptability; test with a few varieties to build your skills, ensuring long-term health without overwhelming demands.
Always monitor growth for adjustments.
For beginners seeking reliable options, consider adding resilient indoor plants to your collection for effortless success.
To enhance your indoor garden with ease, consider incorporating low-maintenance plants that are ideal for busy lifestyles.
Exploring Lighting Solutions for Indoors
How do you ensure your indoor plants thrive with the right light?
First, assess your space’s natural light—south-facing windows offer bright, indirect sun, while north-facing ones provide lower levels. Additionally, proper plant selection can help ensure that your chosen plants are well-suited to the available light conditions in your indoor environment.
For insufficient natural light, choose LED grow lights; they’re energy-efficient and mimic the sun’s spectrum, promoting photosynthesis without overheating.
Use timers to simulate day-night cycles, aiming for 12-16 hours daily.
Measure light intensity with a simple meter to match plant needs—low-light for ferns, high for succulents.
Position lights 6-12 inches above foliage for even coverage, adjusting as plants grow to avoid legginess.
Growing fresh herbs indoors can provide flavorful, year-round additions to your meals, reducing the need to buy them.
Selecting and Preparing Containers
You choose containers based on your plants’ size and space, opting for options like pots or hanging baskets to maximize your indoor area.
Consider materials such as terracotta, plastic, or fabric, each offering benefits like breathability or lightweight durability.
Prepare your containers by drilling drainage holes and filling them with the right soil mix to promote healthy root growth. Additionally, to enhance your setup, incorporate low maintenance plants that are ideal for novice gardeners.
For easier maintenance, incorporate low-effort plants into your container setup to suit beginner gardeners.
Container Choices
Selecting the right containers sets the foundation for a thriving container garden. You must choose options that suit your plants’ needs, focusing on size, drainage, and stability to promote healthy roots and prevent issues like waterlogging.
-
Evaluate size and shape: Pick containers that allow ample root space; deeper ones work for root vegetables, while wider ones suit sprawling plants.
-
Check for drainage: Ensure each container has holes to let excess water escape, avoiding root rot.
-
Prepare thoroughly: Clean containers with soapy water, rinse well, and let them dry to eliminate pests and diseases before planting.
Material Selection
Container materials like plastic, clay, and fabric directly affect plant health by influencing drainage, weight, and durability.
You choose plastic for its lightweight design and resistance to cracking, making it perfect for urban balconies. Clay provides superior breathability and moisture regulation but adds weight, so balance it with your space constraints.
Fabric options promote root health through better aeration, yet they’re less rigid and may degrade faster outdoors. Assess your plants’ needs—opt for materials that optimize drainage to prevent root rot, ensuring long-term success in your container garden.
Always match durability to your environment for reliable results.
Preparation Methods
After selecting your materials, it’s crucial to choose containers that match your plants’ needs and prepare them effectively. Opt for sizes that accommodate root growth, materials like plastic or terracotta for durability, and features like drainage holes to avoid waterlogging.
-
Choose the right size and material: Match container depth to plant roots and select breathable materials to prevent overheating.
-
Ensure proper drainage: Drill holes if needed and add a layer of gravel to promote healthy soil aeration.
-
Clean and sterilize: Wash containers with soapy water or a bleach solution to eliminate pests and diseases before planting.
This sets you up for success in your indoor garden.
Sourcing and Mixing Soil Essentials
You’ll need to source high-quality soil components and mix them precisely to create an optimal growing medium for your container or indoor garden.
Begin with a base like peat moss or coconut coir for water retention. Add nutrient-rich compost, targeting 30-50% of the mix. Incorporate perlite or vermiculite at 20-30% for better drainage and aeration. This mixture promotes natural soil preparation to enhance your harvest without fertilizers.
Purchase from reputable suppliers, checking for organic certifications. Use a clean bucket or tarp to blend components evenly—stir manually for uniformity.
Always wear gloves and measure ratios accurately to avoid compaction issues in your setup.
To ensure these methods thrive in diverse settings, apply universal soil prep tailored to your environmental conditions.
Effective Watering and Humidity Techniques
You’ll need to set up a watering schedule that matches your plants’ specific needs to avoid over- or under-watering.
For humidity control, you can use tools like trays or misters to keep levels optimal in your indoor space.
Mastering moisture techniques, such as checking soil dampness, helps you maintain a balanced environment for healthy growth.
Be aware of the signs of overwatering to prevent potential damage and ensure plant vitality.
By understanding common mistakes, you can refine your watering practices to promote optimal plant hydration and growth.
Watering Schedules
When managing watering schedules for your indoor or container garden, you must balance moisture levels to promote healthy growth while preventing issues like root rot.
Start by assessing your plants’ needs based on type and environment. Here’s how to optimize your routine:
-
Test soil moisture: Use a moisture meter or finger test before watering; aim for damp, not soggy soil.
-
Set a flexible schedule: Water every 3-7 days, depending on plant size and season, to avoid extremes.
-
Apply water evenly: Direct streams to roots, ensuring excess drains to prevent stagnation.
This approach keeps your garden thriving with minimal waste.
Humidity Control
Maintaining optimal humidity levels complements your watering routine, as it directly influences plant health in indoor or container setups.
You can monitor levels using a hygrometer, aiming for 40-60% to match your plants’ needs. Employ a humidifier for consistent moisture or use pebble trays filled with water beneath pots.
Misting foliage daily boosts humidity but requires caution to prevent mold. Group plants closely to create a shared microclimate, enhancing water retention and reducing evaporation losses.
Regularly adjust based on seasonal changes for thriving, hydrated growth.
Moisture Techniques
Effective moisture techniques combine precise watering and humidity management to keep your plants thriving.
You’ll monitor soil moisture and adjust humidity levels to prevent issues like root rot or wilting. Use tools like moisture meters for accuracy, and adapt to your indoor environment.
-
Water efficiently: Check soil before watering; water deeply but infrequently to encourage strong roots.
-
Boost humidity: Employ a pebble tray or humidifier to maintain 40-60% relative humidity around tropical plants.
-
Monitor and adjust: Track evaporation rates and plant responses, tweaking techniques seasonally for optimal health.
Natural Pest and Disease Management
As you build your garden in limited spaces, pests and diseases can challenge your plants, but natural methods keep them at bay.
You introduce beneficial insects like ladybugs to devour aphids, or apply neem oil sprays directly on affected leaves for safe control.
Practice crop rotation in containers to disrupt pest cycles, and remove infected parts promptly to prevent spread.
Maintain plant hygiene by wiping leaves regularly and using homemade garlic or soap solutions as barriers. Additionally, incorporate Natural Herbs like mint or basil to effectively deter common pests in your setup.
Monitor daily; early detection lets you act swiftly, ensuring a thriving, chemical-free setup.
Always test treatments on a small area first.
To enhance your pest control, explore unconventional remedies that include four highly effective methods for reclaiming your space.
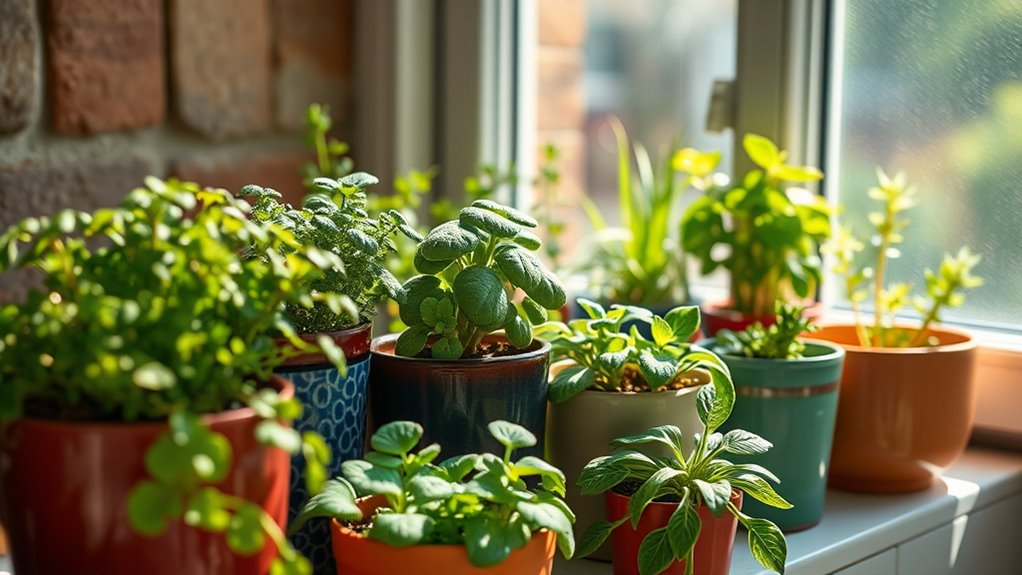
Optimizing Space in Your Home
Building on your pest management efforts in tight spots, you can maximize your home’s space for gardening by using vertical solutions like wall-mounted planters and tiered shelves.
These methods free up floor area while boosting plant exposure to light.
-
Choose sturdy mounts****: Select wall brackets that support your plants’ weight to prevent accidents.
-
Layer efficiently: Use tiered shelves with varying heights for optimal sunlight and airflow.
-
Incorporate hanging options****: Add ceiling hooks for pots to utilize unused overhead space effectively.
This strategy helps you create a thriving indoor garden, even in cramped areas.
Establishing a Routine for Plant Care
Establishing a daily routine for plant care keeps your garden thriving by addressing key tasks like watering, pruning, and monitoring.
You’ll start by setting a specific time, such as mornings, to check your plants consistently. Use a moisture meter to test soil before watering, ensuring you avoid over- or under-hydrating.
Prune dead or yellowed leaves with clean shears to promote airflow and growth. Monitor for pests and diseases by inspecting leaves and stems regularly, perhaps weekly.
Keep a simple log of observations to track progress and adjust as needed, like increasing light for leggy plants. This methodical approach prevents issues and sustains health.
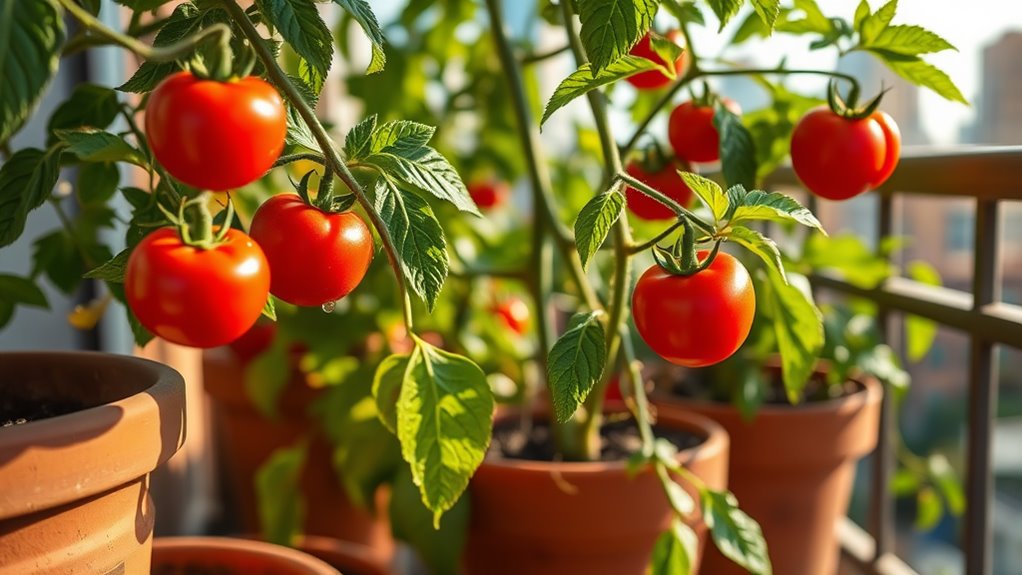
Harvesting and Utilizing Your Produce
Once you’ve established a solid care routine, harvesting your produce becomes the next step to enjoy your efforts.
You’ll identify ripeness by checking color, texture, and size, then use clean tools for a clean cut to prevent damage.
-
Time it right: Harvest in the morning when plants are hydrated for better quality.
-
Handle with care: Gently remove produce to avoid bruising, and clean it immediately.
-
Utilize creatively: Turn your yield into meals, like salads from greens or preserves from herbs, to minimize waste.
This approach maximizes freshness and extends your garden’s rewards.