This DIY Watering System Saves Me Hours Each Week
You’ll love how this DIY watering system saves you hours each week by automating your garden’s irrigation with simple materials like plastic bottles and timers. It’s easy to build, delivering precise water to your plants while conserving resources and boosting their health. Customize it for different needs and keep it running smoothly with quick maintenance tips—explore these steps to make your garden thrive effortlessly!
Key Takeaways
- Automating your watering system with timers schedules tasks automatically, saving hours on daily maintenance.
- Drip irrigation delivers precise water to plants, eliminating the need for manual watering sessions each week.
- Regular weekly checks prevent issues, ensuring the system runs efficiently without frequent interventions.
- Moisture sensors adjust watering based on soil needs, reducing overwatering and freeing up more time.
- Real users save hours by enhancing systems with features like solar pumps, turning chores into effortless routines.
Materials Needed for Your DIY Watering System
To kick off your DIY watering system, you’ll need a handful of essential materials that make the project simple and effective. Incorporating time-saving tools can help you achieve even greater efficiency in your garden routine.
Start with plastic bottles or jugs for clever watering hacks like self-watering reservoirs. Add flexible tubing to direct flow precisely, a basic timer for automated schedules, and eco-friendly mulch to conserve moisture.
You’ll also want a small pump for steady delivery and sturdy connectors to avoid leaks.
These affordable items turn basic supplies into smart watering hacks, helping you maintain a lush garden effortlessly—it’s time to simplify your routine and enjoy the savings!
This setup draws from effortless gardening principles to further enhance your plant care efficiency.
Building the Watering System Step by Step
Now it’s time to build your DIY watering system, starting with gathering the materials you’ve prepared.
You’ll then assemble the parts quickly and efficiently to bring your setup to life.
Once that’s done, test your system to make sure it’s working flawlessly and ready for your plants!
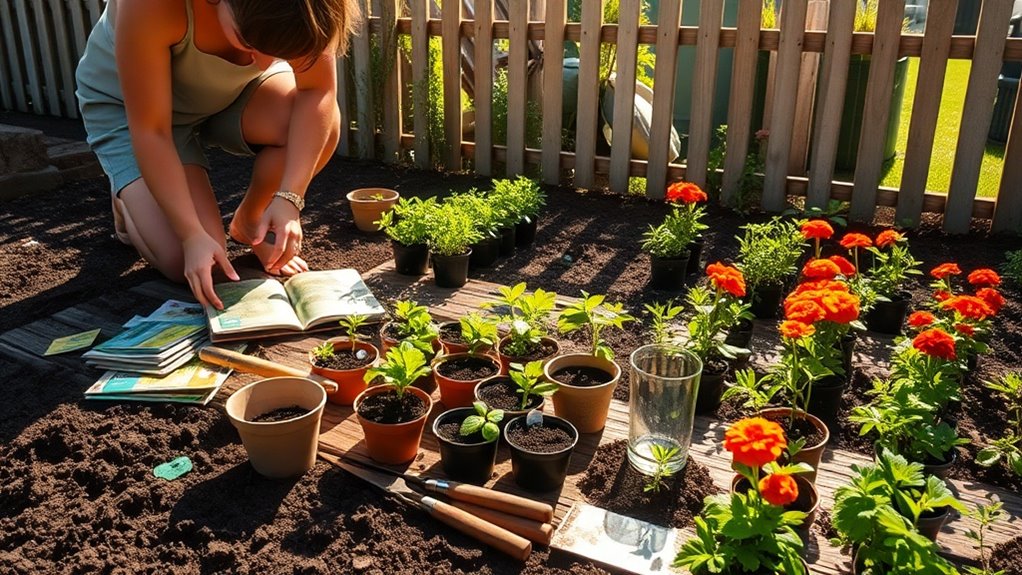
Gather Materials
Before you start building your DIY watering system, round up the key materials to keep things running smoothly.
Start with PVC pipes and fittings for a sturdy framework—they’re budget-friendly and easy to handle. You’ll need a reliable water pump for consistent flow, along with programmable timers to automate your schedule without fuss.
Gather drip irrigation tubing and emitters for precise water delivery, plus hose connectors and valves to prevent leaks.
Don’t forget basic tools like a hacksaw and measuring tape. This preparation gets you excited and ready for a hassle-free setup!
Assemble Parts
With your materials gathered, you’ll eagerly assemble the parts of your DIY watering system, starting with a simple framework that ensures everything fits together seamlessly.
First, secure the base using screws or clips for stability—it’s straightforward and satisfying. Next, attach the pump to the reservoir, connecting tubes tightly to prevent leaks; double-check each joint for a snug fit.
Then, mount the timer and sensors onto the framework, wiring them carefully to avoid tangles. This hands-on process builds excitement as your system takes shape, promising effortless watering ahead.
Keep it precise for optimal results!
Test Setup
After assembling your DIY watering system, you’ll eagerly test the setup to confirm it runs smoothly and efficiently.
Start by filling the reservoir and powering on the pump to check water flow—ensure it’s even across all plants without drips or blockages.
Set a timer for a full cycle, observing activation, distribution, and shutdown. If issues arise, like uneven pressure, adjust valves or hoses promptly.
This hands-on test verifies reliability, letting you tweak for perfection and enjoy the time-saving benefits right away, transforming your gardening routine into a breeze!
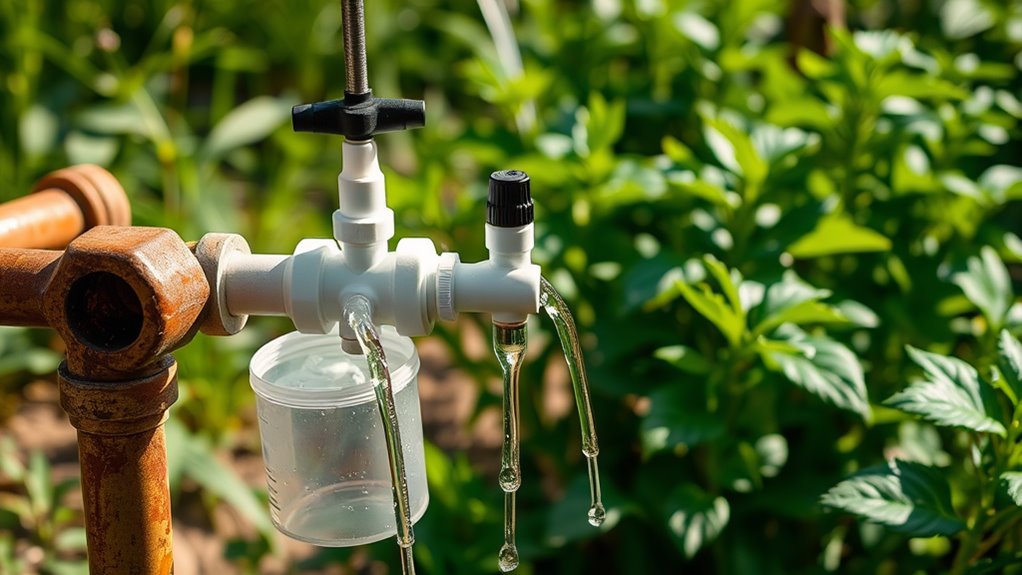
How the System Functions in Your Garden
Once you set up your DIY watering system, it effortlessly maintains your garden’s hydration by using timers and sensors to deliver water precisely where and when your plants need it.
You’ll connect timers to automate schedules, ensuring even watering cycles that match your garden’s layout. Sensors monitor soil moisture levels, triggering drips or sprinklers only when necessary, preventing overwatering.
It’s simple to adjust settings via a basic controller, letting you fine-tune for different plant zones. This hands-off approach keeps everything thriving, as you watch your garden flourish with minimal effort. Additionally, in extreme heat, this system ensures your plants remain hydrated and healthy by adapting to high temperatures.
Get excited—it’s that reliable!
By incorporating expert watering techniques, you can further enhance your garden’s health and avoid common pitfalls like overhydration.
Key Benefits of Automating Watering
You’ll love how automating your watering system saves you time, letting you skip daily chores and enjoy your garden more.
It’s a practical way to conserve water by delivering precise amounts that your plants actually need.
With these benefits, you’re set to make your gardening routine smarter and more efficient.
Moreover, by focusing on watering timing, you can maximize plant growth while minimizing water usage.
Additionally, this system promotes garden health by employing smart watering techniques to enhance overall plant vitality.
Saves Time
Automating your watering system effortlessly saves you time, turning a daily chore into a set-it-and-forget-it routine.
You’ll reclaim hours weekly that once went to manual watering, freeing you for hobbies, family outings, or simply relaxing in your garden.
With timers and sensors handling the work, you avoid rushing home or fretting over missed sessions.
It’s practical—setup takes minimal effort, yet delivers reliable automation.
Embrace this enthusiastic shift; you’ll wonder how you managed without it, boosting your productivity and enjoyment effortlessly.
Conserves Water
One major benefit of automating your watering system is that it minimizes water waste by delivering precise amounts based on real-time needs, such as soil moisture levels.
You’ll notice your plants thrive without overwatering, reducing runoff and keeping your garden eco-friendly. This smart setup adapts to weather changes, so you’re not wasting resources on rainy days.
Plus, it cuts your water bills—imagine saving money while doing your part for the environment!
With this DIY system, you’re actively conserving water, making every drop count and fostering a sustainable routine that’s easy and rewarding.
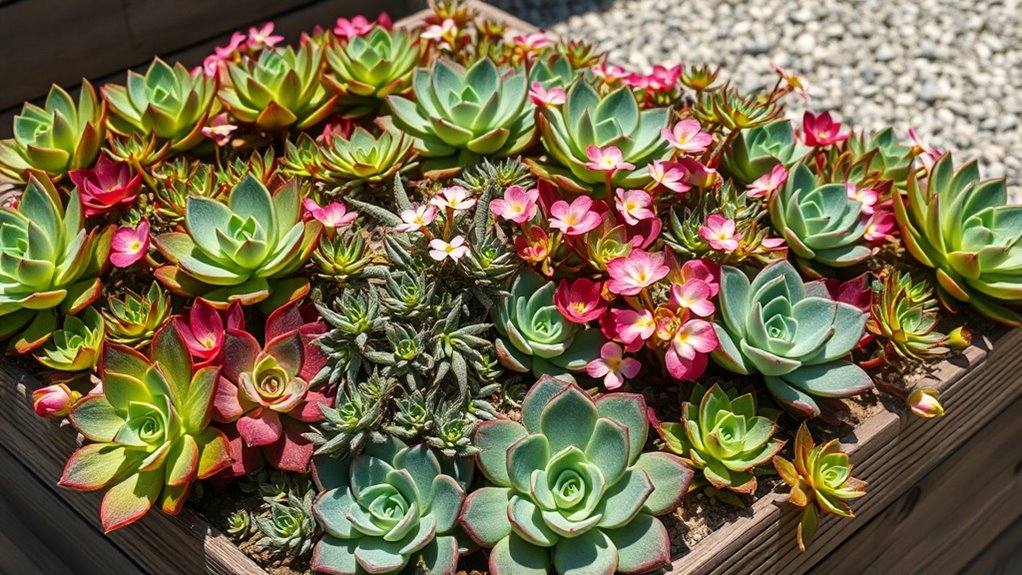
Customizing the System for Different Plants
Whether your garden features thirsty ferns or drought-resistant succulents, customizing your DIY watering system lets you tailor water delivery to meet each plant’s unique needs. You’ll adjust timers and flow rates easily—set frequent, light drips for high-moisture plants and sparse, deep soaks for hardy ones. This ensures optimal growth without waste. Embracing deep watering technique enables you to water plants just once a week for effective root nourishment. Here’s a quick guide to help:
| Plant Type | Water Needs | Customization Tips |
|---|---|---|
| Ferns | High | Short intervals, steady drip |
| Succulents | Low | Long gaps, minimal flow |
| Tomatoes | Moderate | Medium cycles, check soil |
| Roses | Medium | Balanced timing, even spray |
| Herbs | Variable | Adjust per species, test |
Get creative and watch your plants thrive! Incorporating organic techniques will enhance your watering system’s effectiveness during extreme heat.
Maintenance Tips for Longevity
To keep your DIY watering system thriving for years, regularly inspect and clean its components like hoses and timers.
This hands-on approach prevents breakdowns and extends lifespan, keeping your garden lush with minimal effort. By incorporating soil signs monitoring, you can better align your watering with the garden’s needs for improved plant health. You’ll love how these quick checks keep everything running smoothly.
-
Check for leaks weekly: Scan connections and pipes to fix issues early, avoiding water waste and damage.
-
Replace filters quarterly: Swap out clogged filters to maintain optimal flow and prevent system strain.
-
Test timers monthly: Ensure they’re accurate and adjust for seasons to adapt watering needs efficiently.
Moreover, integrating soil testing into your routine can enhance plant health and prevent gardening issues for a more efficient system.
Real-Life Success Stories and Enhancements
Hear how fellow gardeners have transformed their DIY watering systems into effortless garden heroes.
Take Sarah, who added a digital timer for precise scheduling, freeing her from daily checks and boosting her harvest.
Mike enhanced his with solar-powered pumps, cutting costs and making it eco-friendly.
Emily integrated moisture sensors to prevent overwatering, saving water and improving plant vitality.
These tweaks show you can adapt your system easily for better results.
Try them yourself—you’ll save time, reduce effort, and enjoy a thriving garden.
Share your enhancements and inspire others to innovate!