Turn Kitchen Scraps Into Garden Gold With This Easy Compost Trick
Turn kitchen scraps into garden gold with this simple trick: collect fruit peels, veggie trimmings, coffee grounds, and eggshells, then layer them in a compost bin with browns like leaves for balance. Keep it moist like a wrung-out sponge and turn every few days to maintain warmth and speed decomposition. You’ll cut waste and boost your soil’s nutrients, yielding healthier plants—explore these steps further to unlock even more garden magic.
Key Takeaways
- Use kitchen scraps like fruit peels and coffee grounds as nutrient-rich “greens” to kickstart your compost pile.
- Layer greens and browns alternately in your bin for balanced moisture and faster decomposition.
- Turn the compost pile every 3 days to ensure good airflow and accelerate breakdown.
- Keep moisture at 50-60% by adding water or dry materials as needed for optimal microbial activity.
- Harvest mature compost and mix it into garden soil to enrich nutrients and promote healthy plant growth.
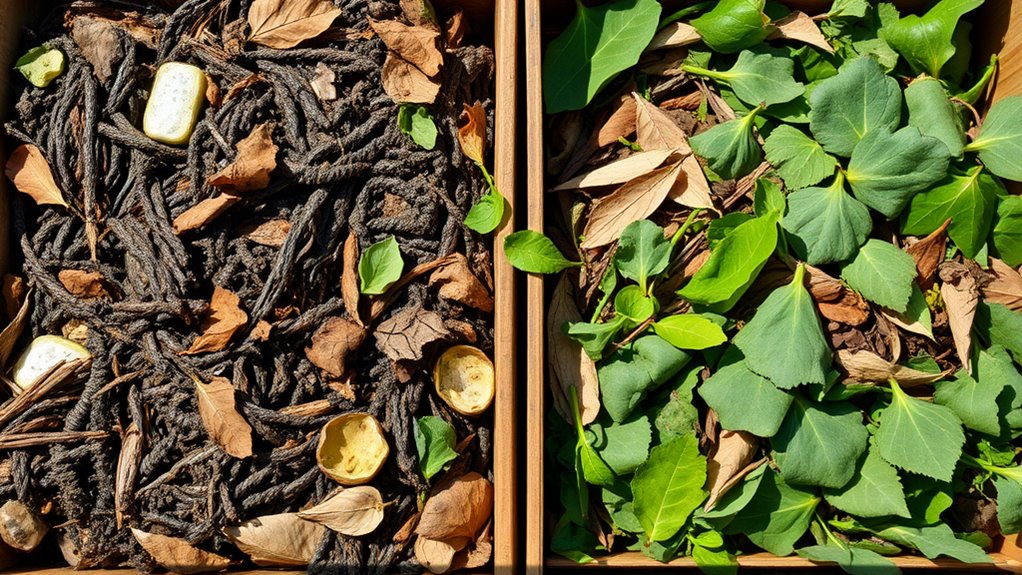
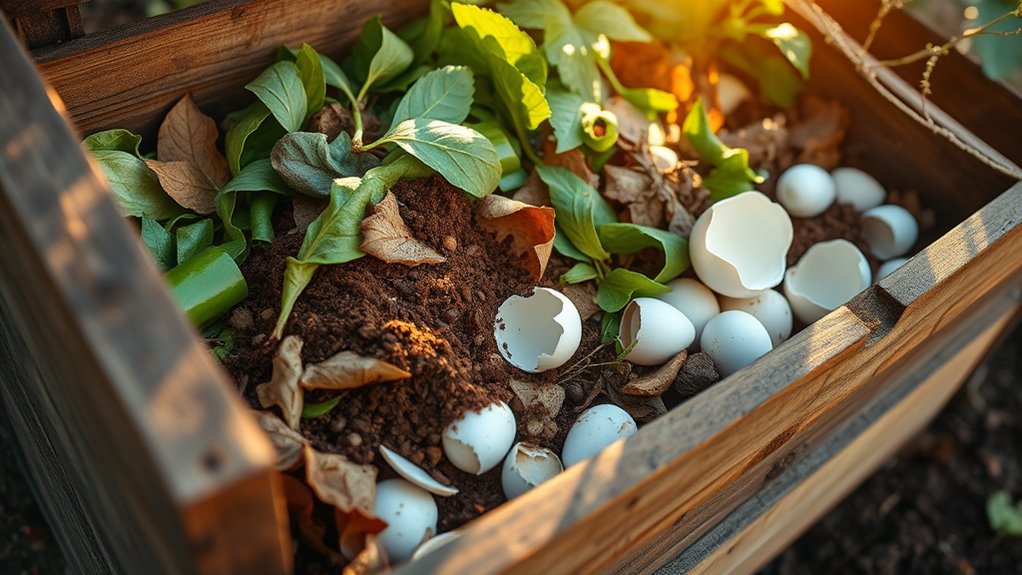
What Kitchen Scraps to Use
When you’re composting kitchen scraps, focus on items that break down easily and enrich your soil. Additionally, incorporate garden waste like leaves and grass clippings to enhance soil health and support overall garden vitality.
In composting at home, you can use fruit peels and vegetable trimmings for quick decomposition and nutrient release, like potassium for plant growth.
Add coffee grounds for nitrogen, eggshells for calcium to strengthen roots, and tea bags for micronutrients.
Avoid meat or dairy to keep things simple and odor-free.
This simple composting technique transforms kitchen scraps into nutrient-rich compost, enhancing your home garden’s health and sustainability.
Setting Up Your Compost System
Now that you’ve sorted your kitchen scraps, it’s time to set up your compost system, as this process can also yield black gold for enriching your garden beds.
Start by selecting a bin type that matches your space and needs, like a simple indoor bucket or a sturdy outdoor tumbler.
Next, prepare a location spot that’s convenient, well-drained, and sheltered from extreme weather.
This setup will help transform your waste into nutrient-rich soil for a more sustainable garden.
Select Bin Type
Before you begin composting, choosing the right bin type sets the stage for an efficient system.
You’ll find options like enclosed bins for odor control and pest resistance, ideal if you’re in a suburban area. Open piles suit spacious gardens, letting air flow freely for faster breakdown, while tumbling bins make turning easy, saving you time.
Consider your space and waste volume—start small if you’re new. Each type helps balance moisture and aeration, turning scraps into nutrient-rich soil quickly.
Pick one that fits your lifestyle to keep composting fun and straightforward.
Prepare Location Spot
Once you’ve selected your bin, picking the right spot for it boosts your composting success. A well-chosen location ensures easy access, proper drainage, and optimal decomposition.
You’ll want a spot that’s convenient yet out of the way, promoting regular use without odors invading your home.
-
Choose a sunny or partially shaded area to speed up breakdown without drying out the pile.
-
Ensure good drainage**** to prevent waterlogged compost that could attract pests.
-
Pick level ground**** for stability and even decomposition.
-
Keep it close to your kitchen**** for effortless scrap additions.
-
Avoid high-traffic zones to minimize disturbances and maintain neatness.
This setup makes composting fun and effective!
Preparing Your Composting Area
Preparing your composting area starts with selecting a spot that’s convenient yet out of the way, like a shady corner in your yard or balcony. You’ll need to ensure the ground is level to prevent runoff, choose a size that fits your needs, and keep it near your kitchen for easy access while avoiding odors. Consider wind direction to minimize smells and protect from pests. To visualize your setup, here’s a simple comparison:
| Ideal Feature | Potential Issue if Ignored |
|---|---|
| Shady Location | Compost dries out quickly |
| Good Drainage | Waterlogging and foul odors |
| Easy Access | You’ll forget to add scraps |
With these steps, you’re ready for success, turning scraps into garden gold effortlessly. Additionally, focus on using suitable materials such as green and brown waste to build a balanced compost pile.
Building the Perfect Compost Pile
Now you’re ready to build your perfect compost pile by mastering layering materials, which helps create the ideal structure for decomposition.
You’ll balance elements like greens and browns to maintain the right moisture and aeration levels.
This approach ensures your pile turns kitchen scraps into nutrient-rich soil efficiently.
To address potential setbacks, monitor for common composting issues that could affect decomposition.
To enhance this process even more, consider incorporating ingredient swaps for a more efficient decomposition and richer soil results.
Layering Materials
To build a thriving compost pile, you’ll layer materials strategically, starting with a base of coarse browns like dried leaves or twigs to promote airflow and drainage. This creates a solid foundation for decomposition.
Alternate with greens for balance, ensuring each layer is about 4-6 inches thick to speed up the process and prevent odors.
-
Start with browns: Lay down twigs or straw for aeration and stability.
-
Add greens next: Pile on kitchen scraps like fruit peels or coffee grounds for nutrients.
-
Incorporate variety: Mix in shredded newspaper or cardboard for texture.
-
Build evenly: Spread layers uniformly to avoid compacting.
-
Monitor moisture: Lightly dampen each layer as you go for optimal breakdown.
Balancing Elements
While building a perfect compost pile requires balancing key elements, you’ll focus on the carbon-to-nitrogen ratio by mixing browns like leaves with greens such as kitchen scraps, ensuring your pile decomposes efficiently without odors or pests.
To achieve this, aim for a 3:1 ratio of browns to greens, which keeps your pile aerated and moist. Too many greens cause smells; too many browns slow decomposition. Here’s a quick guide:
| Material Type | Examples |
|---|---|
| Browns (Carbon-rich) | Dried leaves, straw, cardboard |
| Greens (Nitrogen-rich) | Vegetable scraps, grass clippings |
| Ideal Ratio | 3 parts browns to 1 part greens |
| Monitoring Tip | Turn pile weekly, keep it damp |
Adjust regularly to speed up your composting success.
Managing Moisture and Temperature
Maintaining the ideal moisture and temperature in your compost pile is essential for efficient breakdown of kitchen scraps. You need it damp like a wrung-out sponge—around 50-60% moisture—and warm at 130-160°F to keep microbes thriving. This prevents odors and speeds up decomposition without extra effort.
-
Check moisture weekly: Squeeze a handful; it should feel moist but not drip.
-
Add water if dry: Use a hose or incorporate fruit scraps to boost hydration.
-
Balance with dry materials: Mix in leaves or paper if it’s too wet.
-
Monitor temperature: Insert a thermometer into the center and aim for that sweet spot.
-
Aerate gently: Turn the pile to even out heat and moisture levels.
By avoiding composting mistakes, you can prevent potential garden disasters based on real experiences.
For busy beginners, implementing these tips can make composting accessible and effective, drawing from effortless composting strategies.
Accelerating the Decomposition Process
Once you’ve got moisture and temperature in check, speeding up decomposition becomes your next step to turn kitchen scraps into rich compost faster. To boost the process, chop materials into smaller pieces, add nitrogen-rich activators like grass clippings, and turn your pile regularly for better airflow. These methods supercharge microbial activity, helping you create nutrient-rich soil quicker. Incorporating sustainable fertilizing techniques from natural practices can further enhance your garden’s health and productivity. These strategies align with organic gardening hacks to foster thriving plants through sustainable methods.
| Technique | How It Speeds Up Decomposition | Quick Tip |
|---|---|---|
| Chopping Scraps | Increases surface area for microbes | Use a knife or blender daily |
| Adding Activators | Boosts bacterial growth instantly | Mix in coffee grounds weekly |
| Aeration | Delivers oxygen to speed breakdown | Turn the pile every 3 days |
| Layering Materials | Balances nutrients for efficiency | Alternate greens and browns |
| Using Starters | Introduces helpful microbes fast | Sprinkle commercial starters |
Monitoring Compost Progress
How do you know if your compost is breaking down properly? It’s simple: watch for key signs that show your pile’s thriving.
Regularly check these indicators to keep things balanced and avoid issues.
-
Monitor temperature: Use a thermometer; it should reach 130-160°F for active decomposition.
-
Check moisture: Keep it damp like a squeezed sponge—too dry slows it down.
-
Smell it regularly: A fresh, earthy scent means it’s working; bad odors signal adjustments.
-
Observe shrinkage: The pile should reduce in size as materials break down.
-
Feel the texture: It should feel crumbly, not slimy, indicating healthy progress.
Stay engaged—your compost will reward you with rich soil!
Harvesting Nutrient-Rich Compost
When your compost pile has shrunk and developed a rich, earthy texture, you’re ready to harvest that nutrient-rich soil for your garden.
Before you begin, ensure the pile has cooled down, indicating it’s fully decomposed. Use a garden fork to turn and loosen the material.
Then, sift it through a half-inch mesh to separate the finished compost from larger pieces like eggshells or twigs. Return the larger items to the bin for further breakdown.
Harvest on a dry day to make the process easier and to avoid clumping.
Once harvested, keep your compost in a sealed container to maintain moisture levels, but don’t let it get too wet.
This way, you’ll have perfect soil amendment ready when you need it. To maximize your garden’s potential, consider performing soil testing before applying this compost to enhance plant health and yields.
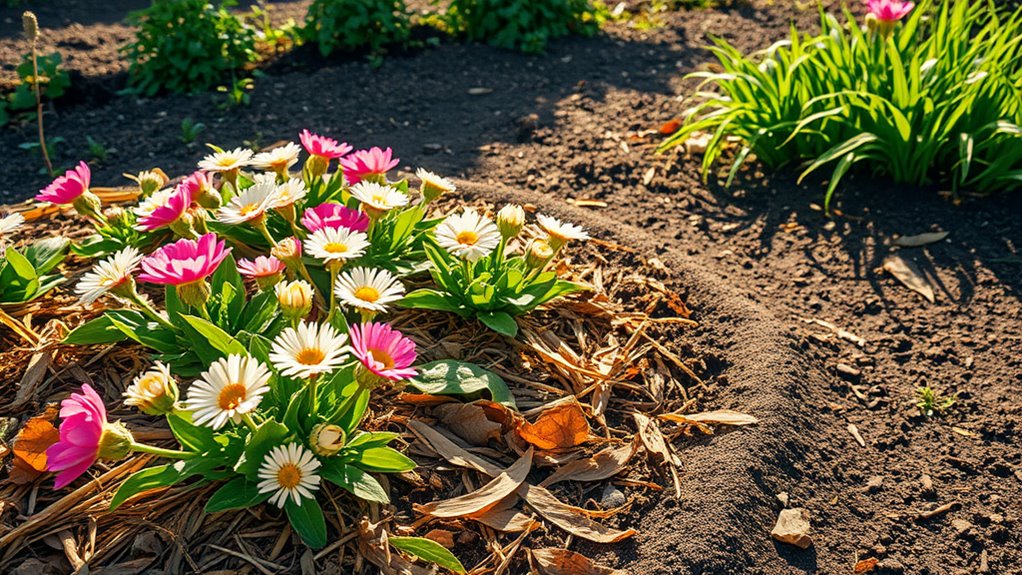
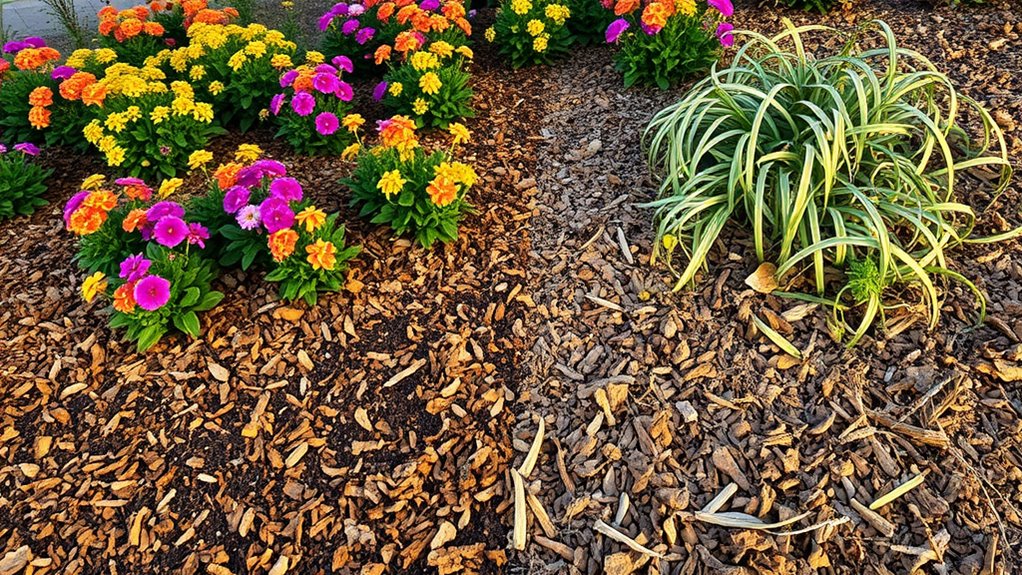
Integrating Compost Into Your Garden
Integrating compost into your garden boosts soil fertility and plant growth, so grab your harvested batch and start by mixing a few inches into your garden beds. This enriches the soil, enhances moisture retention, and supports robust roots, turning your space into a thriving oasis.
-
Boost flower beds: Spread compost around plants to encourage blooming and deter pests.
-
Amend vegetable plots: Mix it in before planting for nutrient-packed soil that yields bigger harvests.
-
Mulch pathways: Layer compost to suppress weeds and maintain even soil temperature.
-
Revive lawns: Top-dress grass with a thin layer for greener, thicker turf.
-
Container gardening: Add to pots for sustained feeding, ensuring vibrant potted plants thrive.