How to Prepare Soil for ANY Plant – No Matter Where You Live
To prepare soil for any plant, no matter where you live, start by assessing its type and texture through simple tests like the jar method. You’ll test and balance pH using lime for acidic soil or sulfur for alkaline, then add essential nutrients based on deficiencies. Incorporate organic amendments like compost to boost fertility and improve drainage, while aerating to prevent compaction. By enhancing soil structure and microorganisms, you’ll foster healthy growth—explore these strategies further for tailored success.
Key Takeaways
- Assess soil type, pH, and nutrients through testing to tailor preparations for any plant.
- Balance soil pH by adding lime for acidic conditions or sulfur for alkaline ones.
- Incorporate organic amendments like compost to enhance structure and fertility universally.
- Prevent compaction by aerating soil and using cover crops to promote root health.
- Maintain soil long-term with regular testing, crop rotation, and organic mulching.
Assessing Soil Type and Texture
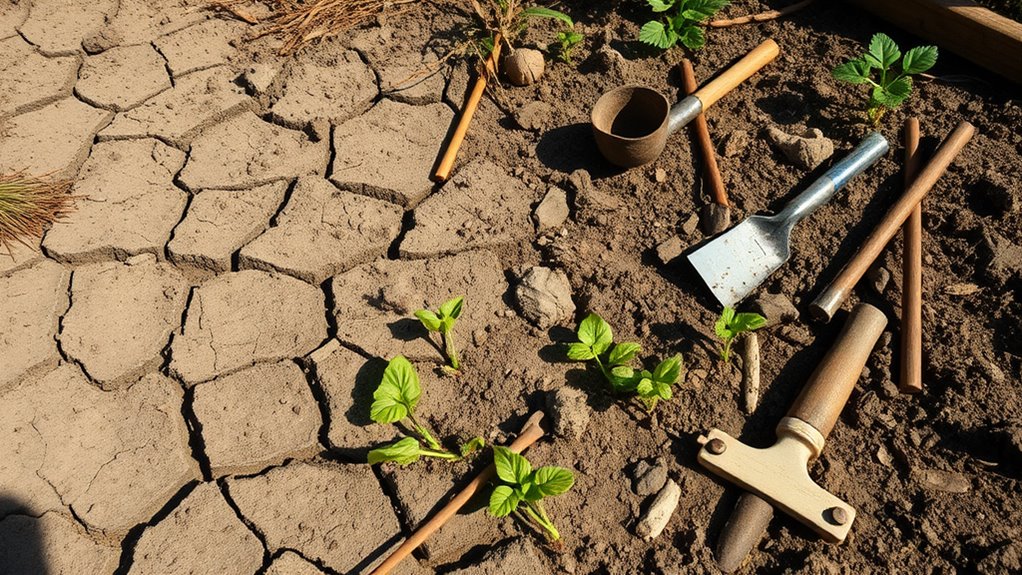
Before you dive into planting, you’ll need to assess your soil’s type and texture, as these factors determine how well it drains, retains moisture, and supports root growth.
To begin universal soil prep, you’ll identify soil types like sandy, clay, or loamy by feeling its consistency—rub a sample between your fingers.
For texture, perform a simple jar test: shake soil in water and observe settling layers, revealing particle sizes.
This practical step ensures your soil suits any plant, adapting to local conditions without amendments yet. Furthermore, incorporating soil testing can enhance plant health by identifying nutrient deficiencies early on.
Accurate assessment prevents future issues, fostering healthy roots universally.
To further enhance your soil preparation, consider soil testing to identify and remedy potential problems that could affect garden success.
Testing and Balancing Soil Ph
Once you’ve assessed your soil’s type, how do you determine and adjust its pH to create an ideal environment for plants?
You test soil pH using affordable kits, digital meters, or lab services for accurate readings. Most plants prefer a neutral range of 6.0 to 7.0; acidic soils below 6.0 hinder nutrient uptake, while alkaline ones above 7.0 limit availability.
To raise pH in acidic soil, apply agricultural lime; for alkaline soil, incorporate elemental sulfur.
Monitor changes by retesting after a few weeks, ensuring you maintain optimal levels without overcorrecting for healthy growth. By debunking soil myths, you can avoid misconceptions that might interfere with effective pH management.
These pH adjustment techniques are part of universal soil prep methods that work regardless of your location.
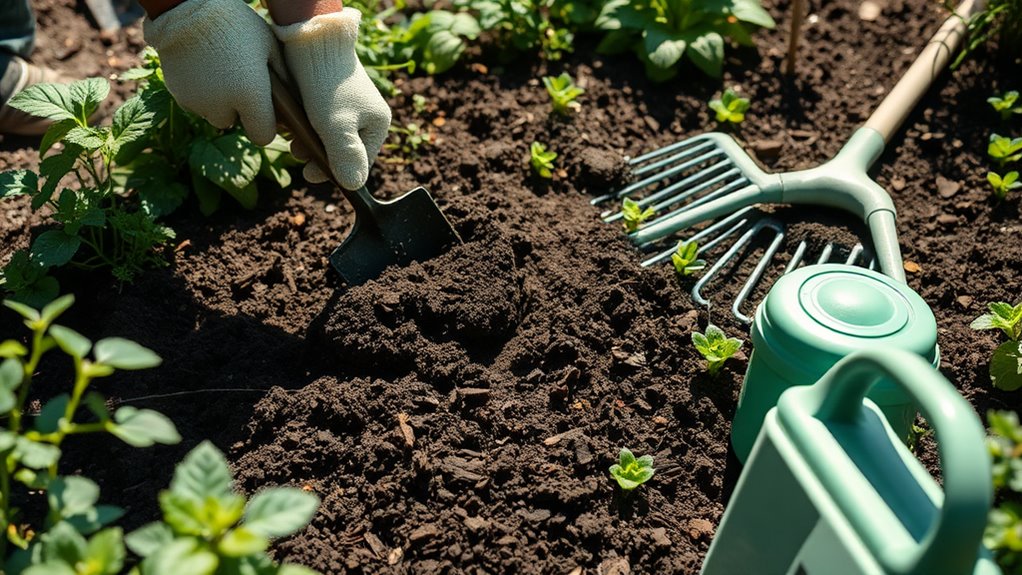
Incorporating Organic Amendments
When you’re preparing your soil, start by selecting organic materials like compost or manure that suit your plant needs.
Then, you apply these amendments by mixing them into the topsoil layers for even distribution.
This step boosts your soil’s fertility levels, providing essential nutrients for robust plant development. For instance, integrating natural pest control can deter pests and support a balanced garden environment.
Additionally, to enhance soil health through sustainable practices, consider incorporating organic composting by recycling kitchen scraps and garden waste.
Select Organic Materials
Organic materials form the backbone of effective soil amendments, so you’ll want to choose ones that suit your soil’s needs and plant types.
Start by testing your soil for pH, nutrients, and texture to guide selections. For nutrient-deficient soils, opt for compost to enhance microbial life and structure, or use bone meal for phosphorus boosts in flowering plants.
In sandy soils, select peat moss or coir to improve water retention, while clay soils benefit from straw or aged manure to boost aeration.
Always prioritize locally sourced, pathogen-free materials with balanced carbon-to-nitrogen ratios for optimal results, ensuring they align with your climate and plant demands.
Apply to Soil
Incorporate your selected organic amendments into the soil to boost its fertility and structure effectively.
Begin by spreading them evenly over the surface, then use a tiller or fork to mix thoroughly to a depth of 6-12 inches, depending on your plant’s needs.
This method physically aerates the soil, enhancing texture and water retention while introducing beneficial microbes.
Scientifically, it improves aggregation, reducing erosion and supporting root growth without immediate chemical reliance.
Always integrate amendments during cooler seasons to minimize nutrient loss, and test soil consistency afterward for uniform distribution.
Enhance Fertility Levels
To boost your soil’s fertility, mix in organic amendments like compost or manure, ensuring even distribution to a depth of 6-12 inches. These materials enrich nutrients, enhance microbial activity, and improve water retention, making your soil more productive for any plant.
| Organic Amendment | Benefits | Application Method |
|---|---|---|
| Compost | Adds organic matter | Mix into top 6-12 inches |
| Manure | Boosts nitrogen levels | Spread and till evenly |
| Leaf Mold | Improves soil structure | Layer and incorporate lightly |
Test your soil’s pH afterward to optimize nutrient uptake, ensuring balanced growth.
Improving Soil Drainage and Aeration
Good drainage and aeration are essential for healthy plant roots, as they prevent waterlogging and allow oxygen to reach the soil. By employing these methods, you can boost your harvest without the need for fertilizers.
You can assess your soil’s drainage by digging a hole and observing water percolation; if it pools, amend it immediately. Incorporate coarse materials like perlite or sand to enhance porosity, especially in clay soils.
For aeration, use a garden fork to loosen compacted layers, promoting root penetration and microbial activity. Regularly mulch with organic matter to maintain structure without compacting the soil, ensuring long-term vitality for any plant.
Test periodically to confirm improvements.
Additionally, utilize natural techniques from your backyard, such as leaves or compost, to further enhance soil quality without any cost.
Adding Essential Nutrients
To ensure your soil supports healthy plant growth, you identify and add essential nutrients based on its specific deficiencies.
First, select the right nutrients by testing your soil and choosing balanced fertilizers that address key elements like nitrogen or phosphorus.
Then, apply them using efficient methods such as broadcasting or banding to maximize absorption and minimize runoff.
Additionally, incorporate sustainable practices by opting for homemade organic fertilizers to promote long-term soil health and environmental benefits. For instance, you can boost your garden with an organic fertilizer recipe using easily accessible ingredients.
Nutrient Selection
After you’ve tested your soil’s nutrient levels, you’ll select and add the essential elements—such as nitrogen for foliage, phosphorus for roots, and potassium for resilience—to promote healthy plant growth.
Based on test results, choose nutrients that address specific deficiencies; for example, opt for nitrogen-rich amendments if levels are low, ensuring they suit your plant types.
Consider micronutrients like iron for chlorophyll or calcium for cell walls, selecting from balanced fertilizers or organic options like bone meal.
Match selections to soil pH and plant requirements for optimal uptake, preventing toxicity or deficiencies through precise ratios.
Application Methods
Once you’ve selected your nutrients, several reliable methods let you incorporate them into the soil effectively.
Broadcasting spreads granular fertilizers evenly across the surface, then till them in for uniform distribution, promoting balanced root access.
Banding places nutrients in a concentrated strip near seeds or roots, minimizing waste and enhancing uptake efficiency.
For quick results, dissolve liquid fertilizers in water and apply via irrigation, ensuring rapid absorption.
Top-dressing works for established beds; simply scatter and lightly incorporate organic amendments like compost to improve soil structure and sustain microbial activity over time.
Preventing and Correcting Soil Compaction
Soil compaction occurs when soil particles are densely packed, limiting root growth and water infiltration, but you can easily prevent and correct it by adopting simple, science-based practices.
To prevent it, you limit heavy machinery or foot traffic on wet soil, as this increases particle density and reduces pore space. Use cover crops like clover to boost root penetration and maintain structure without over-tilling, which can exacerbate issues. Additionally, applying mulch can help prevent soil compaction by improving moisture retention.
For correction, aerate your soil with a broadfork or core aerator to break up hardpans, improving air and water movement. Measure compaction levels with a soil penetrometer for accurate assessment, then add coarse organic amendments to enhance porosity and stability.
Regularly rotate these methods to sustain healthy soil dynamics.
For optimal soil health, it’s wise to explore alternative options instead of relying solely on store-bought mixes, which may not effectively address compaction issues.
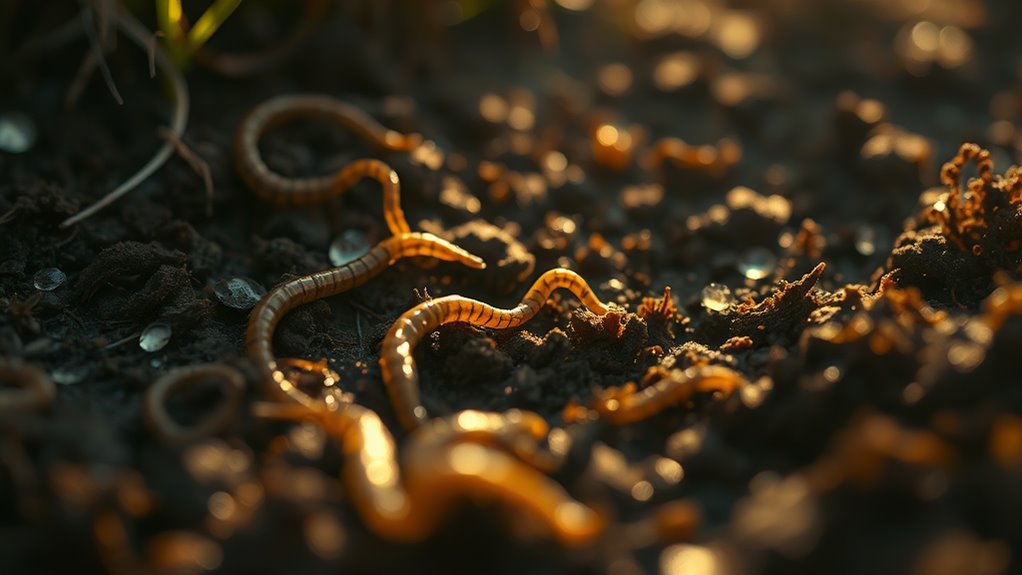
Enhancing Soil Microorganisms
Enhancing soil microorganisms boosts your garden’s fertility by fostering beneficial bacteria, fungi, and other microbes that decompose organic matter and cycle nutrients.
You can enhance them by adding compost, which introduces diverse microbial life and improves soil structure. It’s essential you avoid synthetic chemicals, as they disrupt these vital communities.
Plant cover crops like legumes; they’ll fix nitrogen and provide organic matter for microbes to thrive.
Regularly test your soil’s pH and adjust to 6-7 for optimal activity, ensuring microbes function efficiently.
Aerate gently to supply oxygen, supporting their growth and nutrient cycling processes.
Applying Mulch for Protection
After enhancing your soil’s microorganisms, you’ll protect them by applying mulch, a simple yet effective barrier that conserves moisture, suppresses weeds, and regulates temperature.
Choose organic options like bark or straw, which decompose to release nutrients and support microbial activity. Apply a 2-4 inch layer around plants, ensuring even coverage without touching stems to prevent disease.
Scientifically, mulch reduces evaporation by up to 70%, stabilizes soil pH, and limits erosion, creating an optimal environment for root health and plant resilience in any climate.
Long-Term Soil Maintenance Strategies
Once you’ve established a solid foundation with mulch, you’ll sustain soil health through ongoing strategies that promote fertility and resilience. Regularly test soil pH and nutrients to guide amendments, rotate crops to minimize depletion, and apply compost to boost organic matter. Use cover crops for erosion control and monitor moisture levels to prevent compaction.
| Maintenance Strategy | Key Benefits |
|---|---|
| Crop Rotation | Reduces pests and nutrient loss |
| Composting | Enhances microbial activity and structure |
| Soil Testing | Enables precise pH and nutrient corrections |
| Cover Cropping | Improves fertility and prevents erosion |
| Mulch Renewal | Retains moisture and suppresses weeds |
These practices ensure your soil remains productive and adaptable long-term. (99 words)