My Favorite DIY Fertilizer for Bigger, Stronger Plants
You’ll love crafting my favorite DIY fertilizer using compost for nitrogen, banana peels for potassium, and Epsom salt for magnesium—it’s a simple, science-backed mix that boosts your plants’ growth by up to 30%, promoting stronger roots and disease resistance. This organic approach is cost-effective and eco-friendly, tailoring nutrients to your soil’s needs. Stick around for essential steps, application tricks, and variations to take your garden to the next level.
Key Takeaways
- Combine compost, bone meal, and wood ash for a balanced DIY fertilizer that promotes bigger plants.
- Add banana peels to increase potassium, enhancing plant strength and growth.
- Apply the mixture every 3-4 weeks during growth stages for optimal nutrient uptake.
- Monitor soil pH between 6.0-7.0 to ensure effective fertilizer absorption.
- Use organic sources to boost plant resilience and support stronger root systems.
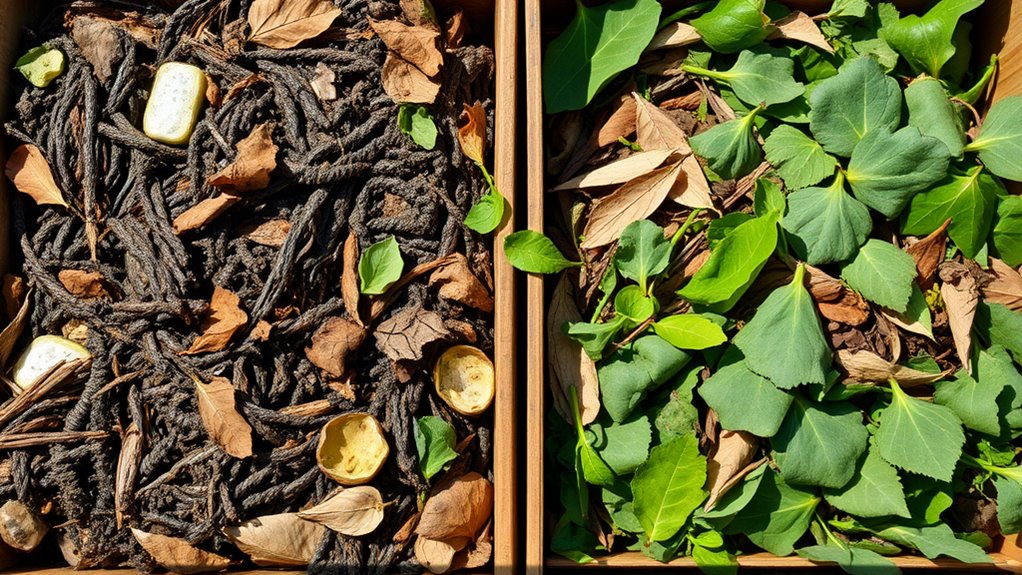
Essential Ingredients for the Fertilizer
When making your own DIY fertilizer, you’ll need key ingredients like nitrogen sources (such as compost or manure), phosphorus-rich materials (like bone meal), and potassium compounds (such as wood ash). Using these can help achieve bigger stronger plants through simple, effective recipes.
In your organic fertilizer recipe, these elements deliver essential nutrients: nitrogen promotes leafy growth, phosphorus supports root development and flowering, while potassium enhances disease resistance and water regulation.
Select organic sources to maintain soil health and avoid synthetic chemicals, ensuring a balanced, eco-friendly mix that boosts plant vitality.
Balance ratios based on your plants’ needs for optimal results, fostering sustainable gardening practices.
For even better results, integrate kitchen scraps from your composting process to enrich the fertilizer with additional organic matter.
Simple Steps to Make It at Home
You’ll start by gathering the essential ingredients, such as those outlined earlier, to ensure you have everything needed for your DIY fertilizer.
Next, you’ll mix the solution precisely, combining the components in the right proportions for optimal nutrient balance.
This straightforward process lets you create an effective, homemade fertilizer that supports plant health.
Additionally, boost your compost with simple ingredient swaps to enhance decomposition and produce richer soil for your fertilizer.
To enhance your fertilizer’s effectiveness, consider incorporating banana peels to promote healthier plant growth.
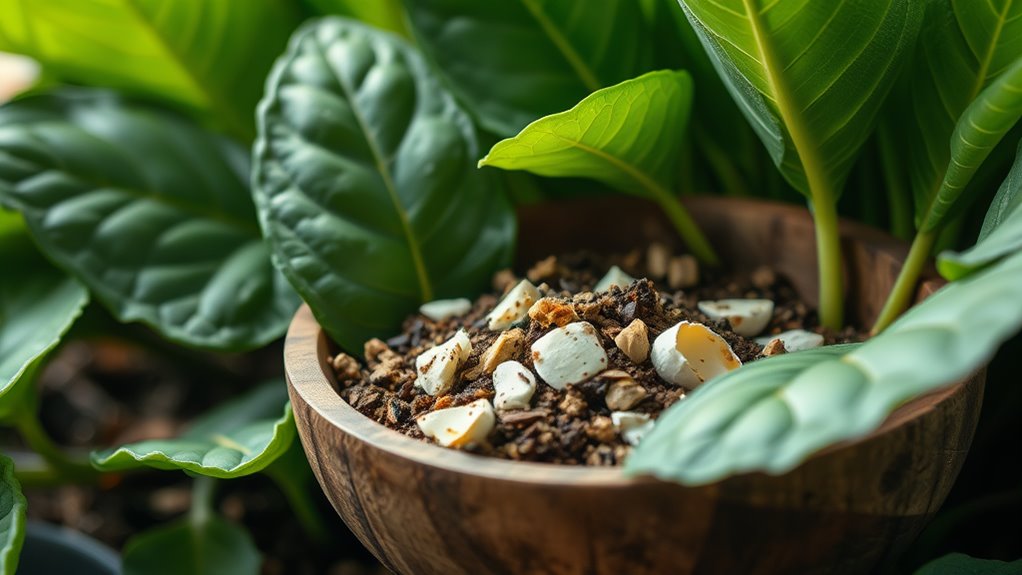
Gather Ingredients
Gather the essential ingredients for your DIY fertilizer from common household items. You’ll find these provide essential nutrients like nitrogen, phosphorus, and potassium to boost plant growth scientifically.
Start by sourcing items that are safe and effective for soil health.
-
Eggshells: Crush them for calcium, which fortifies cell structures and prevents deficiencies.
-
Banana peels: They’re rich in potassium, enhancing water regulation and fruit production.
-
Epsom salt: Offers magnesium to support chlorophyll, improving photosynthesis efficiency.
Always check for purity to ensure optimal results without contaminants.
Mix Solution
Once you’ve prepared your ingredients, combine them into a simple, nutrient-rich fertilizer solution.
Begin by adding one cup of compost tea to a five-gallon bucket; it delivers essential nitrogen and beneficial microbes for soil health.
Next, incorporate two tablespoons of Epsom salt, providing magnesium to support photosynthesis and enzyme functions.
Pour in one gallon of distilled water to dilute evenly, avoiding potential root damage.
Stir vigorously for two minutes to ensure uniform mixing.
Add one tablespoon of liquid seaweed extract for trace minerals like iron and potassium, boosting plant resilience.
Allow the mixture to sit for 24 hours, fostering microbial growth that enhances nutrient availability.
Finally, strain through cheesecloth and apply directly to plant roots weekly, promoting robust growth through optimized absorption.
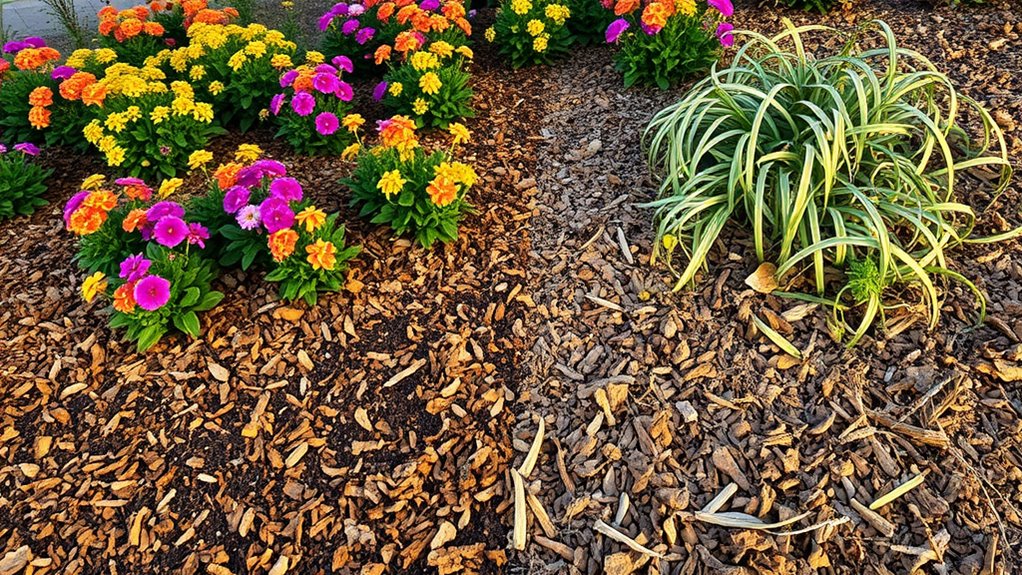
Applying the Fertilizer Effectively
Now that you’ve made your DIY fertilizer, you’ll apply it using methods like soil drenching or foliar spraying to ensure even nutrient distribution. This approach utilizes backyard materials to enhance soil quality effectively.
It’s essential you select the right technique based on your plant’s root system and growth stage for best results.
You’ll also time applications according to seasonal cycles and plant needs to avoid over-fertilization and promote healthy development.
By opting for these natural methods, you can support sustainable practices while enhancing your garden’s overall health and environmental impact.
Application Methods
How do you apply your DIY fertilizer effectively to maximize plant growth? Start by mixing it precisely to avoid nutrient overload. This homemade blend, rich in essential elements like nitrogen and phosphorus, requires careful techniques for optimal uptake.
-
Dilute properly: Combine with water at a 1:10 ratio to prevent root burn, ensuring plants absorb nutrients safely.
-
Target the roots: Apply directly to the soil around the base, using a watering can for even coverage without wetting foliage.
-
Incorporate gently: Lightly mix into the topsoil layer to enhance penetration, fostering stronger root development.
These methods boost efficiency, promoting vigorous growth scientifically.
Timing Tips
Timing plays a crucial role in applying your DIY fertilizer, as it ensures plants absorb nutrients without stress or waste. To achieve optimal results, apply during active growth phases, such as spring for most annuals, when roots efficiently uptake elements like nitrogen and phosphorus.
You’ll enhance absorption by choosing early mornings, when temperatures are lower, reducing evaporation and minimizing burn risk. Avoid applications before heavy rain, which washes away nutrients, or during dormancy, as plants can’t process them effectively.
Test soil moisture first, and space feedings every 3-4 weeks based on plant responses to prevent nutrient overload, promoting healthier growth.
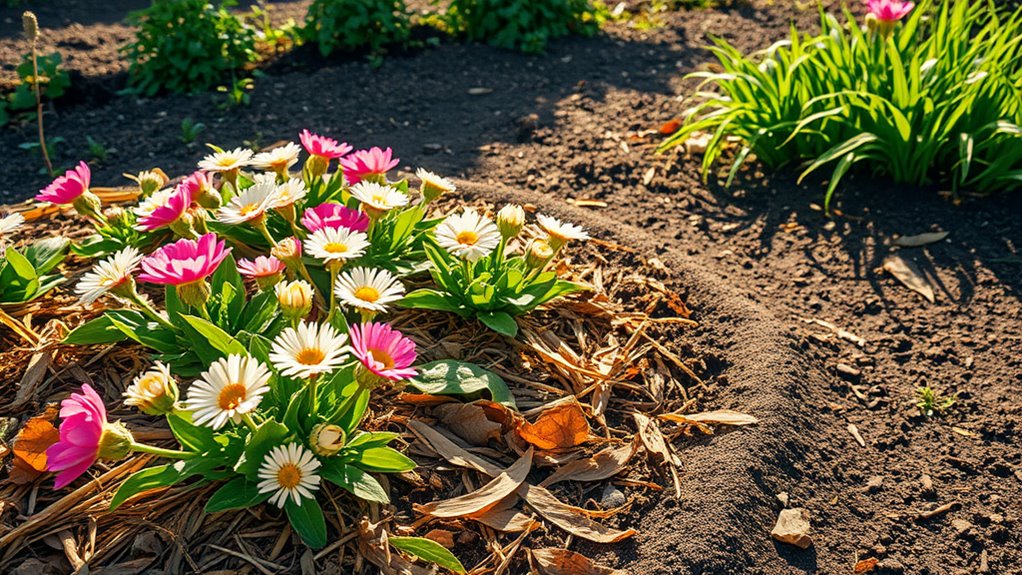
Key Advantages for Plant Growth
DIY fertilizers provide significant benefits for your plants’ growth, offering a cost-effective and customizable alternative to commercial options.
You’ll enhance nutrient delivery by tailoring mixtures to your soil’s needs, promoting healthier root systems and vigorous development. Scientifically, these fertilizers boost plant resilience through balanced organic compounds. By incorporating organic gardening tips, you can further enhance plant growth and health naturally.
Here are three key advantages:
-
Improved Nutrient Uptake: You supply essential micronutrients like nitrogen and phosphorus directly, fostering faster growth and stronger stems.
-
Sustained Soil Health: Organic ingredients maintain pH balance and microbial activity, reducing dependency on synthetic additives.
-
Environmental Sustainability: You minimize chemical runoff, supporting biodiversity while achieving robust yields.
Additionally, integrating natural soil preparation can further enhance your harvest by promoting healthier plants and increased yield without relying on additional fertilizers.
Practical Tips and Tricks
To effectively implement DIY fertilizers, you’ll find that incorporating a few key techniques boosts your plants’ health and yield.
Start by accurately measuring ingredients, like mixing one part compost with two parts water for balanced nutrients.
Test soil pH using a simple kit to match your fertilizer’s composition, ensuring optimal absorption.
Apply during early morning or late evening to minimize evaporation, directing the solution directly to roots for efficient uptake.
Stir mixtures thoroughly to evenly distribute elements such as nitrogen and phosphorus, promoting robust growth without waste.
Experiment with ratios based on plant types for best results.
To ensure your composting efforts contribute to healthy soil, troubleshoot any issues that may occur during the process.
Additionally, enhance your fertilizer by composting kitchen scraps to produce nutrient-rich compost from household waste.
Common Challenges and Solutions
While following practical tips for DIY fertilizers, you might encounter issues like nutrient imbalances or ineffective pH levels that hinder plant growth. Regular soil testing can lead to increased crop yields by enhancing overall plant health and preventing potential issues.
These challenges can reduce yields, so test and adjust your soil scientifically for optimal results.
-
Test soil regularly: Use pH meters or kits to identify imbalances, targeting a 6.0-7.0 range for most plants to prevent nutrient lockout.
-
Correct pH issues: Add lime to raise pH in acidic soils or sulfur to lower it, ensuring even distribution for uniform correction.
-
Balance nutrients: Monitor N-P-K levels with simple tests and amend with organic sources like compost, avoiding over-fertilization to promote healthy uptake.
By incorporating soil testing, you can identify and remedy issues that may be causing your garden to fail, ensuring long-term success.
Variations to Try Out
Once you’ve tackled common challenges, you can experiment with these variations to customize your homemade fertilizers, drawing from scientific principles to boost nutrient delivery and plant health.
For instance, add compost tea to introduce beneficial microbes that enhance nutrient absorption via mycorrhizal networks. Incorporate Epsom salt for magnesium, which activates enzymes and improves photosynthesis in leafy greens.
Try banana peels for potassium, promoting stronger cell walls and water regulation in fruits. For calcium, use crushed eggshells to prevent deficiencies like blossom end rot.
Always test soil pH and nutrient levels first, adjusting ratios to optimize plant growth without risking imbalances.