What to Do Before Planting That Almost Everyone Forgets
Before you plant, it’s easy to overlook assessing your soil’s pH and drainage to ensure it’s ready for growth. You’ll want to clear weeds and debris, giving your plants room to thrive without competition. Test for pests and diseases early, and maintain your tools for efficient use. Plan a thoughtful garden layout and select plants that match your conditions. Prepare mulch and amendments to enrich the soil. Taking these steps prevents common pitfalls—explore further strategies for even better results.
Key Takeaways
- Test soil drainage by digging a hole and timing how long water takes to drain, ensuring it’s under four hours.
- Inspect plants and soil for hidden pests and diseases before planting to avoid future outbreaks.
- Maintain gardening tools by cleaning, sharpening, and checking for damage to ensure safe and effective use.
- Clear away all weeds, including roots, and debris to eliminate competition and pest habitats.
- Plan garden layout by mapping sunlight, wind, and soil conditions for compatible plant placement.
Assess Soil Quality
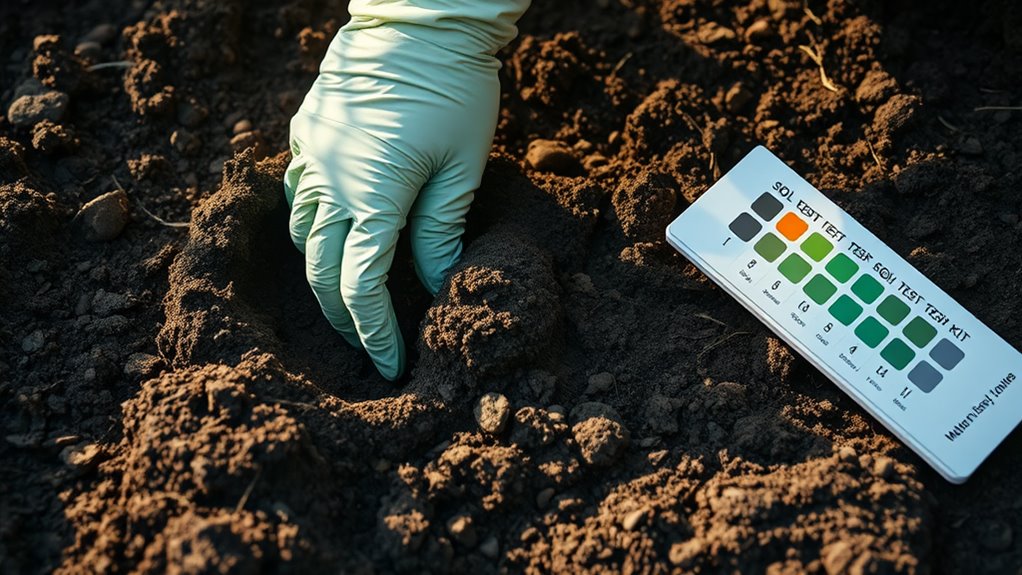
Before you plant, it’s essential to assess your soil’s quality, as this step ensures your plants thrive in the right conditions.
Start with your garden pre-plant checklist by testing soil pH using a simple kit—you’ll dig a sample, mix it with water, and measure acidity levels to match plant needs.
Check texture by feeling if it’s sandy, clayey, or loamy, which affects drainage and root growth.
Test for nutrients like nitrogen and potassium with affordable home kits, then amend as needed—add compost if deficient—to create optimal growing conditions for a bountiful harvest. Furthermore, soil testing plays a key role in unlocking garden success by identifying and addressing potential issues like nutrient deficiencies or pH imbalances.
This simple assessment increases crop yields by providing the insights needed to optimize plant health and avoid potential gardening pitfalls.
Clear Weeds and Debris
Clear weeds and debris from your planting area to prevent competition for nutrients and space. You’ll ensure your new plants thrive by removing invasive weeds that choke out resources and hinder growth. Furthermore, this practice supports a healthy ecosystem by reducing areas where pests can thrive naturally.
Start by manually pulling weeds, focusing on their roots to stop regrowth, or use a hoe for larger areas. Clear away rocks, dead leaves, and other debris that could block sunlight or harbor moisture issues.
Wear gloves to protect your hands, and dispose of materials properly to avoid reintroducing problems. This step sets a clean foundation, making planting smoother and more successful overall.
Additionally, clearing weeds and debris helps reduce pest issues by eliminating potential hiding spots, supporting natural pest control in your garden.
Test for Pests and Diseases
Before you plant, inspect your garden for pests by checking leaves, stems, and soil for signs like holes or insects. Additionally, incorporate natural DIY techniques to effectively manage pests using everyday materials without any expense.
You’ll also detect plant diseases early by looking for symptoms such as spots, wilting, or unusual growths on existing plants.
Finally, test soil samples through a lab to uncover hidden pathogens that could harm your future crops.
To enhance your pest management, consider learning about the top five pests that often affect gardens for more targeted prevention strategies.
Inspect for Pests
While preparing your garden, it’s crucial to inspect for pests and diseases to safeguard your plants’ health.
Start by visually scanning your garden bed for visible insects like aphids or beetles, turning the soil to uncover burrowing pests such as grubs.
Examine leaves, stems, and roots for signs of damage, like holes or webbing. Use a magnifying glass to spot tiny invaders.
Check tools, pots, and seeds for eggs or larvae to prevent introduction.
If you find pests, remove them manually with water sprays or traps.
This proactive inspection ensures a pest-free start, protecting your future harvest.
Detect Plant Diseases
After inspecting for pests, you should examine your plants for diseases by looking for symptoms like spots, wilting, or unusual discoloration on leaves, stems, and roots.
Check for fungal signs, such as powdery mildew or rust, which often appear as fuzzy coatings or raised bumps. Use a magnifying glass to spot tiny lesions or distorted growth early on.
If you notice these issues, isolate affected plants immediately to prevent spread. Take photos for reference and consult a local extension service for identification—don’t plant until you’ve addressed potential problems, ensuring healthier starts.
Always act proactively to safeguard your garden’s success.
Test Soil Samples
Testing your soil samples is a key step to uncover hidden pests and diseases that could threaten your garden.
You’ll need to collect samples from various spots, digging 6-8 inches deep to get a representative mix. Send them to a local lab or use a reliable home test kit for analysis.
Look for signs like nematodes, fungi, or bacterial presence in the results. If pests or diseases show up, treat the soil with organic amendments or fumigants before planting.
This proactive approach saves you time and prevents crop failures, ensuring a healthier start. Always follow lab recommendations for accuracy.
Maintain Gardening Tools
Before you plant, you’ll want to maintain your gardening tools by cleaning them thoroughly to remove dirt and prevent rust buildup.
Next, sharpen their edges regularly so they cut efficiently and reduce plant damage during use.
Finally, inspect for any damage like cracks or loose parts to ensure your tools remain safe and effective for the season.
To enhance your gardening efficiency, consider incorporating budget-friendly tools that offer excellent value and performance.
Additionally, explore hidden surprises in your tool maintenance to uncover more ways to keep your gardening gear ready for the growing season.
Clean Tools Thoroughly
Maintaining your gardening tools through thorough cleaning is essential to prevent disease transmission and ensure they last longer. You’ll avoid spreading pathogens by wiping tools immediately after use, removing soil with a stiff brush, and disinfecting with a 10% bleach solution. Let them air dry to prevent rust. Here’s a guide to effective cleaning methods:
| Tool | Cleaning Method |
|---|---|
| Shovels | Brush off dirt, wash with soapy water, disinfect with bleach solution. |
| Pruners | Wipe blades with rubbing alcohol, rinse, and dry completely. |
| Hoes | Scrub with wire brush, soak in vinegar, then oil for protection. |
| Trowels | Remove debris, clean with mild detergent, and apply protective coat. |
| Rakes | Hose off residue, sanitize with hydrogen peroxide, and store dry. |
Regular cleaning keeps tools reliable and your plants safe.
Sharpen Edges Regularly
Sharpen your gardening tools’ edges regularly to boost their efficiency and extend their lifespan.
You’ll need a sharpening stone or file to maintain blades on shears, shovels, and hoes effectively.
Begin by cleaning the edge, then hold the tool steady and glide the sharpener along the bevel at a consistent angle—typically 20-30 degrees—for even honing.
Aim to sharpen before each planting season or after heavy use, as dull edges require more force and can tear plants instead of cutting cleanly.
This practice saves time, prevents frustration, and ensures you’re ready for optimal planting results.
Inspect for Damage
Regularly inspect your gardening tools for damage to keep them reliable and safe. This routine check helps you spot problems early, preventing accidents and extending tool life.
You’ll maintain efficiency by examining key areas thoroughly.
-
Examine blades and edges for cracks, chips, or bends that could impair cutting and cause injury.
-
Inspect handles and grips for splinters, wear, or looseness, ensuring a secure hold to avoid slips.
-
Check for rust or corrosion**** on metal parts, as it weakens structure and promotes breakage over time.
-
Test moving components like hinges and joints for smoothness and stability, confirming they function without sticking.
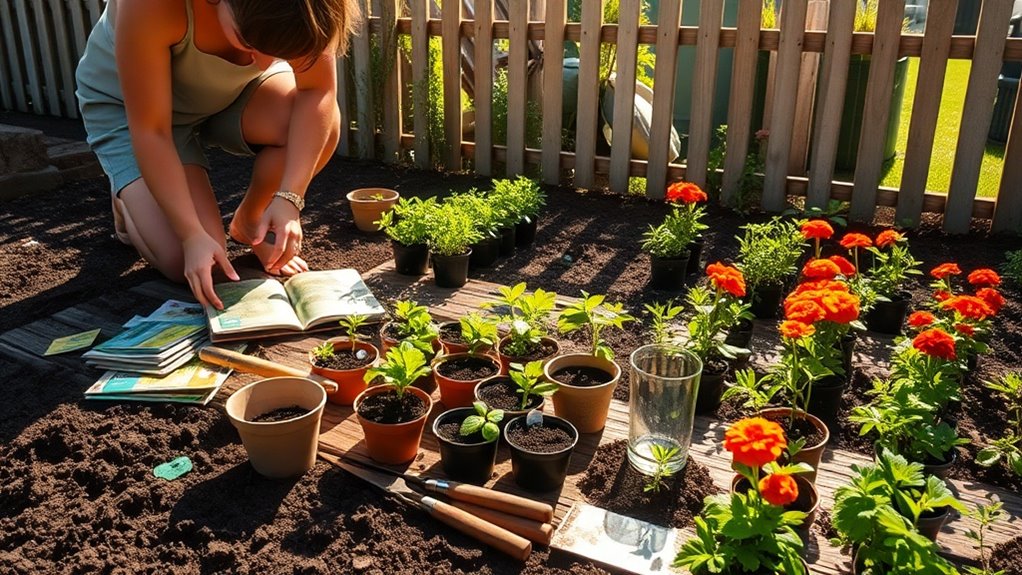
Plan Garden Layout
Before you begin planting, it’s crucial to plan your garden layout to ensure optimal use of space and resources. Start by sketching your plot, measuring dimensions, and mapping key factors like sunlight, wind, and soil conditions. Think about pathways for easy access and grouping similar needs together to avoid conflicts. Furthermore, by incorporating universal soil prep techniques, you can tailor your garden to thrive in diverse environmental conditions. To make your garden layout even more effective, don’t forget to assess soil health as an essential preliminary step.
| Aspect | Tips |
|---|---|
| Space | Measure and divide areas effectively |
| Sunlight | Map exposure for each zone |
| Wind Patterns | Identify sheltered spots |
| Soil Drainage | Note wet and dry areas for placement |
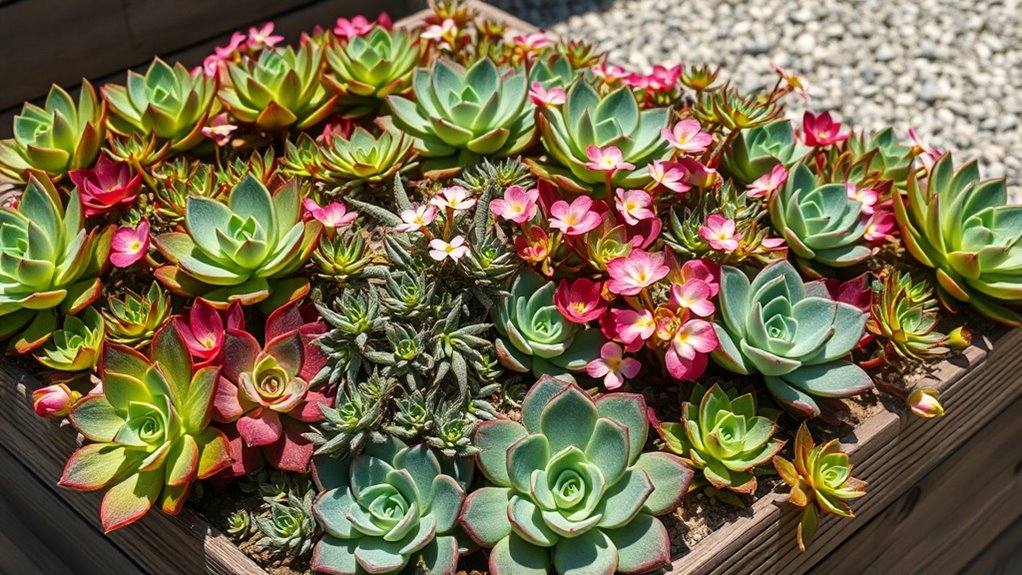
Select Appropriate Plants
With your garden layout mapped out, you’ll now choose plants that fit your space’s unique conditions. This step ensures your garden thrives by matching plants to sunlight, soil, and climate specifics. By incorporating companion planting, you can deter pests naturally through strategic plant pairings that boost overall garden health.
-
Evaluate sunlight needs: Determine your area’s light levels and select plants like sun-loving marigolds for bright spots or shade-tolerant ferns for dimmer areas.
-
Assess soil compatibility: Test your soil’s pH and texture, then pick acid-loving azaleas for acidic soils or drought-resistant succulents for well-drained spots.
-
Match climate zones: Use hardiness zone maps to choose perennials that withstand your local temperatures, avoiding tender varieties in cold regions.
-
Consider growth habits****: Opt for compact plants in small spaces and vigorous climbers for trellises, ensuring they complement your layout’s scale.
Additionally, incorporate companion planting techniques to select plant pairs that enhance growth and naturally deter pests.
Ensure Proper Drainage
One crucial step before planting is ensuring proper drainage, as poor water flow can lead to root rot and stunt plant growth.
To ensure this, you’ll start by testing your soil: dig a 12-inch hole, fill it with water, and time how long it drains—ideally under four hours.
If it’s slower, improve the site by regrading for better slope or installing French drains to channel water away.
Check multiple spots in your garden for consistency, as variations can affect results.
This proactive approach prevents waterlogging, keeping your plants’ roots healthy and supporting vigorous growth.
Prepare Mulch and Amendments
After you’ve ensured good drainage, you’ll next prepare mulch and amendments to enrich your soil and promote healthy plant growth. This step boosts nutrients, retains moisture, and prevents erosion for thriving plants.
-
Test your soil: Use a kit to check pH and nutrient deficiencies, guiding your choices.
-
Select materials: Opt for organic mulch like straw or bark, and amendments such as compost or lime to address specific soil issues.
-
Prepare thoroughly: Break down amendments by mixing or composting, and shred mulch for even coverage.
-
Apply correctly: Incorporate amendments into the top 6-8 inches of soil, then layer 2-4 inches of mulch around beds, leaving space near stems.